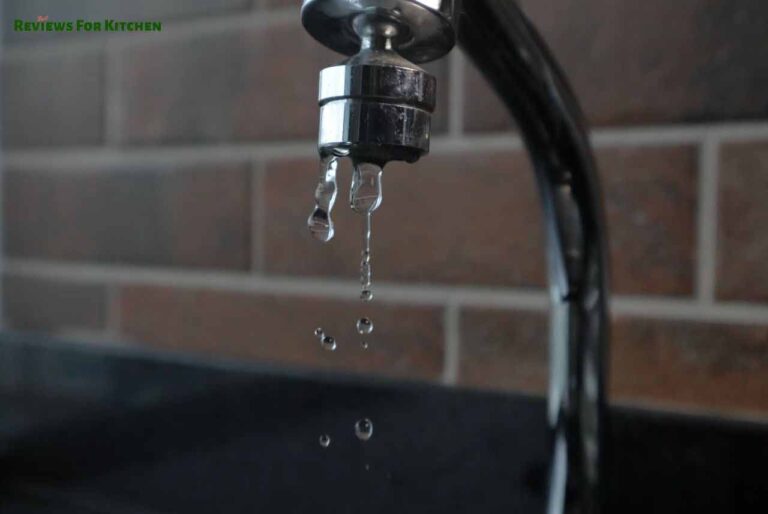

Everyone wants to decorate their kitchen with the most modern and quality tools. In the case of kitchen faucet, we see a lot of changes in the recent few years. So, no one loves the old designed faucet anymore. So, are you thinking of replacing (How to replace a Kitchen Faucet) it?
But replacing a faucet means costing money for new faucet and the service. Happy to know that only after buying a new faucet you can replace it by yourself. But, how to replace a kitchen faucet?
I am here to help you with the ultimate guide. Don’t worry about the ingredients. I am pretty sure all the tools it requires are available in your toolbox. There are mainly 2 methods and 9 main processes. Today, I will discuss them step by step. So, read out the instructions and ready to replace it like an expert.
How to Replace a Kitchen Faucet?
According to our research we found few common mistakes that we have done when replacing the kitchen faucet. So, we find the solution with two simple method
Method 1: Pre-replacing Method
Step 1: Choose the right faucet
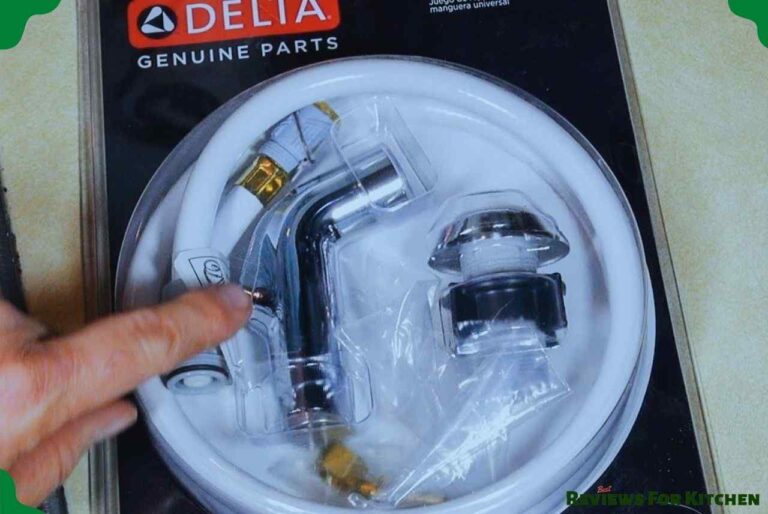
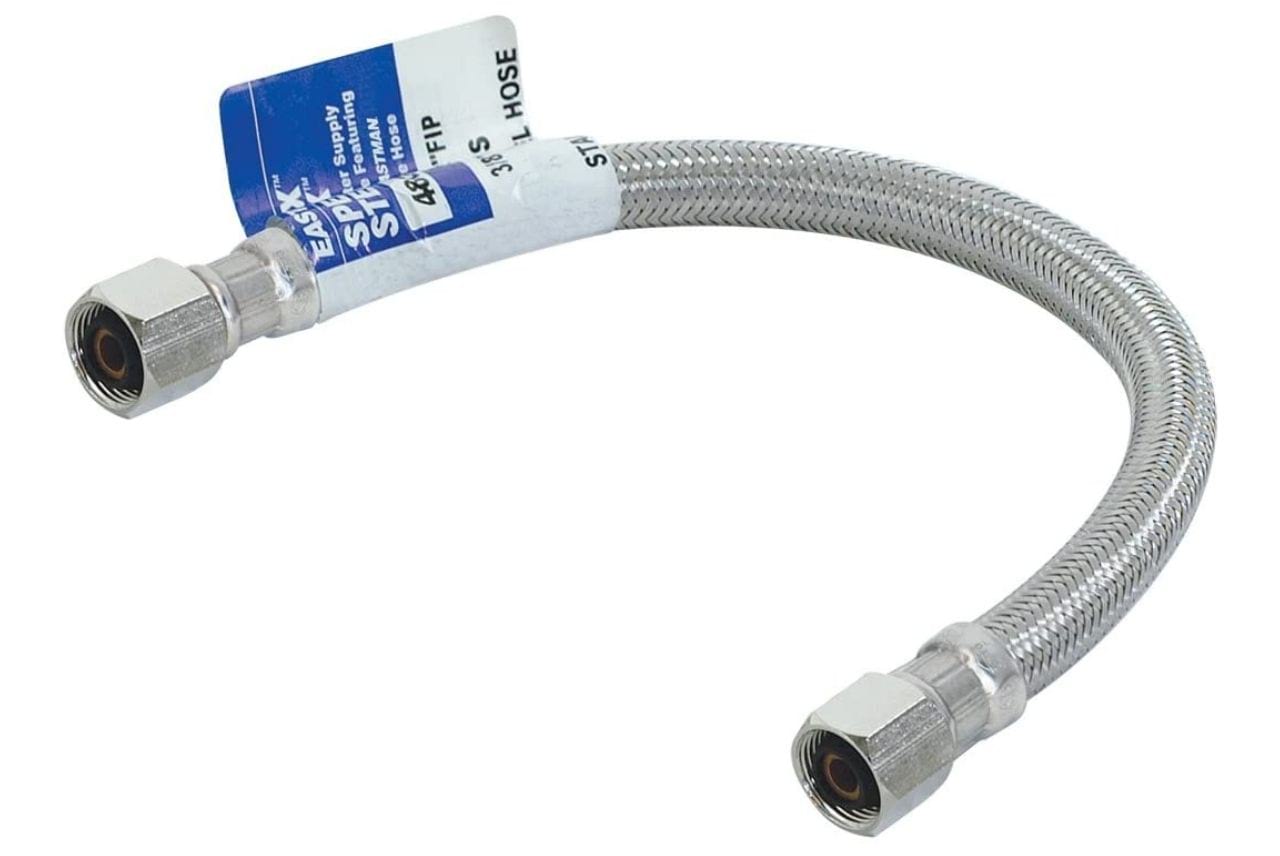
The first thing is you need to know what is the best kitchen faucet. You can go to the market or order online for a new faucet. I never recommend using an old faucet. If you go to the market then capture a picture of the sink. Show it to the shopkeeper and they will understand which one is perfect for your sink.
Today, I am using Delta Kitchen Faucet. It is one of the best kitchen faucets. It also supports most of the sinks.
Step 2: Take your Protection
Get a pair of gloves and a mask. Wear the gloves and mask before you start working. The area under the sink is generally dirty and grimy. Again, while working the dirt can enter the lungs through your nose.
So, it is necessary to take protection before starting.
Step 3: Clear everything under the cabinet
If you don’t get enough room to work you won’t be able to work properly. So, clear everything from the cabinet under the sink.
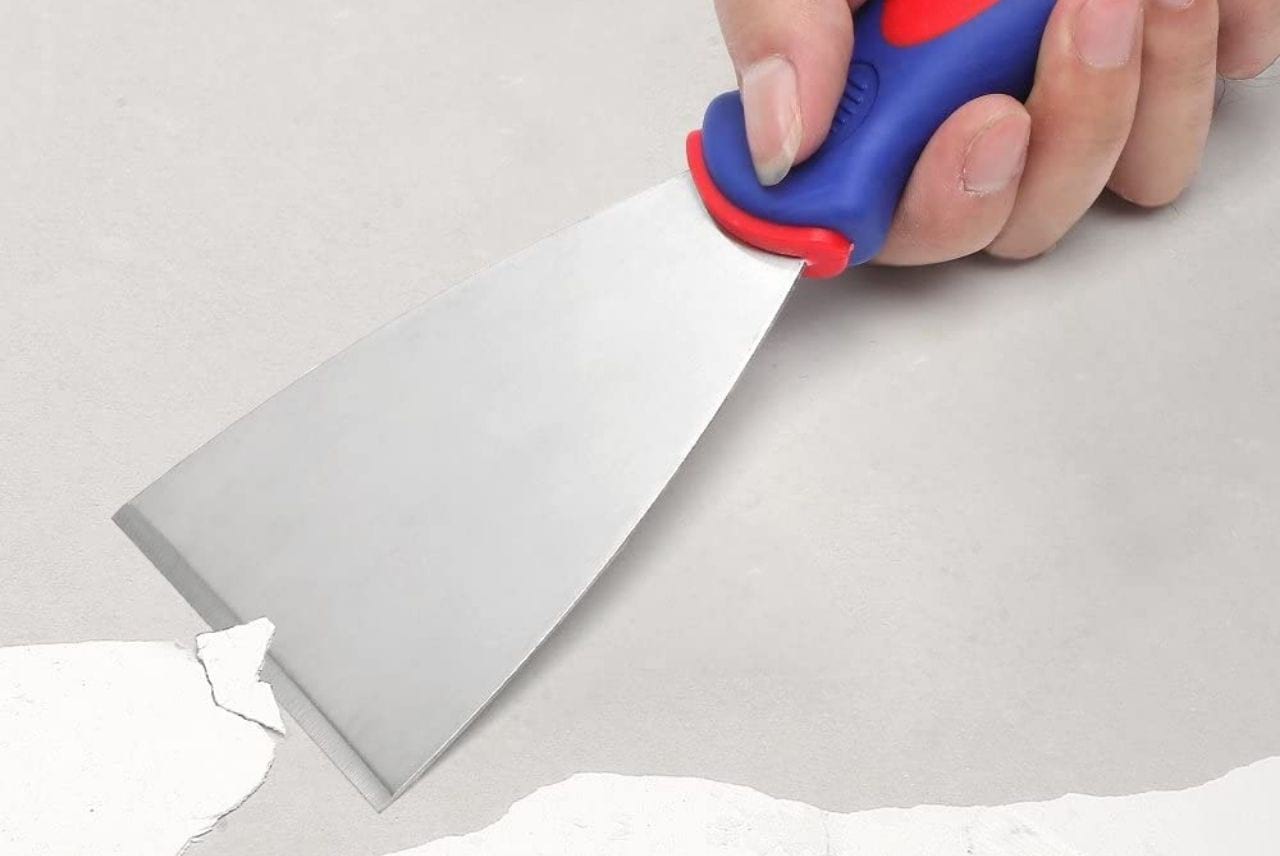
Step 4: Gather necessary tools
For replacing a kitchen faucet you need some tools. Here I am giving the list.


Step 5: Read the instructions
Read the steps I will discuss now. It will work as your own assistant.
Method 2: Main Procedure
Step 1: Turn off Both the Hot and Cold Supply Valves
At first, tighten the supply valves. Turn them clockwise and make sure there is no water flow. If the water flow continues, then you have to contact a c.
If there is no water flow then you can disconnect the supply line.
Step 2: Light up the Place
The place underneath the sink remains dark all day. For working smoothly, you need to light up the area. You can use a camping lantern to light up the place.
Step 3: Remove the Old Faucet
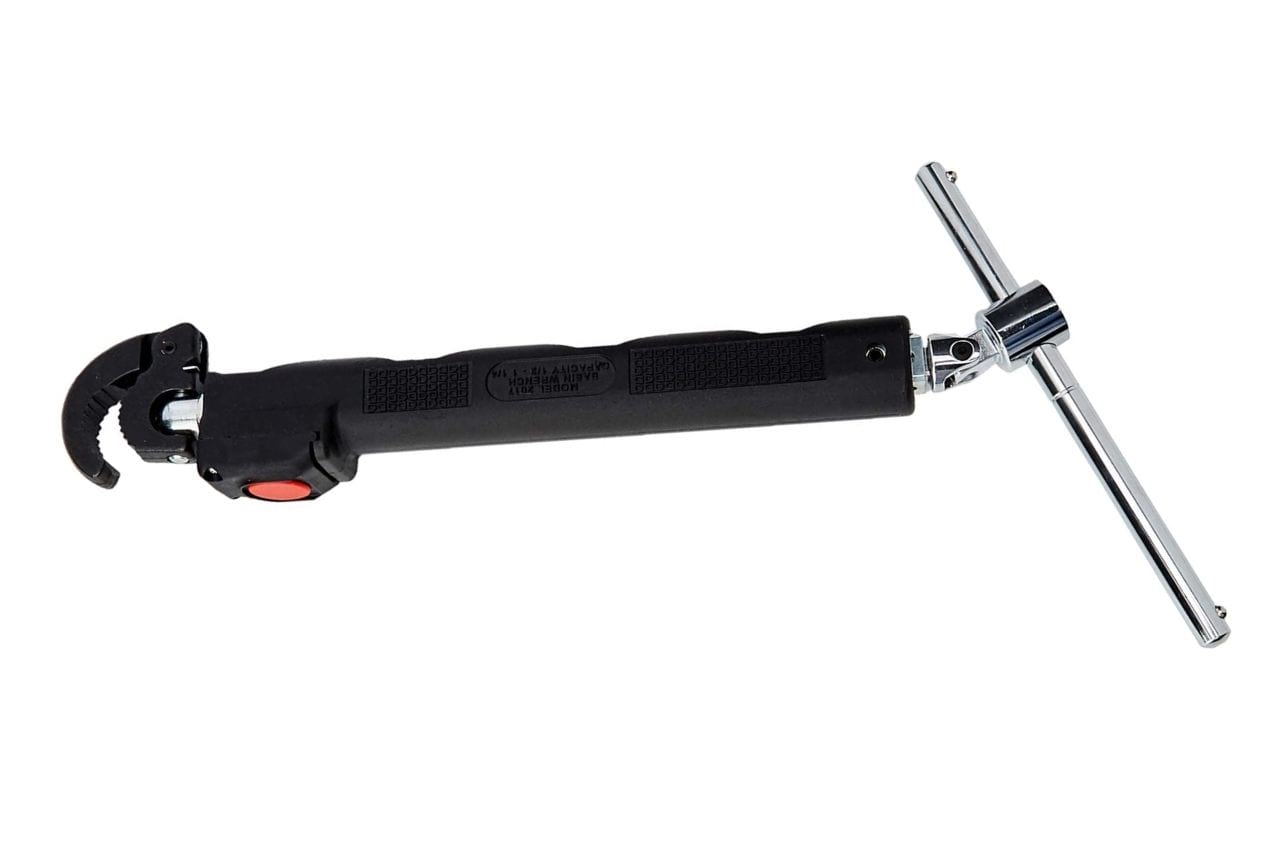
Check out the nuts type. If they are plastic then it is better to unscrew them using your fingers. If it is tight enough then use a basin wrench to unscrew them. Make sure that the retaining bracket remains secured.
Step 4: Cleaning
If the old faucet is been there for 2-3 years then it must be a dirty area. So take a rag and clean the area.
Try to clean all the dirt and make it look like a new one.
Step 5: Installing a New Faucet
Now take the new faucet and install it according to the Instruction. You may get an Instruction paper you can follow that.
Place the faucet and supply line properly and take a basin wrench to tighten the nuts. Don’t tighten too much, it may cause damage to the washers.
Step 6: Install the Weight (Only for pull-down and pull-out faucets)
In the case of pull-down and pull-out faucets, you have to install the weight according to the direction. Misplacing the weight can impair the functions of the faucet type. You can check out the instruction paper for the exact direction to place the weight.
Place the weight on the sprayer hose that generally locates underneath the sink. Most of the manufacturers mark the area with a different color. If your faucet is like that then it will be easier to locate.
Step 7: Clean the Lines and Hose
As you are working with a dirty hand, the hose and line will be dirty enough. Besides, if there is extreme dirt it can block the water flow. Just take a rub and wipe down the places. Try to bring a new look.
Step 8: Flush the Faucet
It’s important to flush the fixture as it contains dangerous particles. They generally contain sediments and other harmful particles from the manufacturer. So flush the faucet for at least a minute and let all the particles fo away.
Step 9: Check for the Leakages
We are at the very last stage of your task. Now check out if there is any leakage or not.
At first, go under the sink and inspection the hose and supply line. If there is any moisture then there is a chance of leakage.
You can use a white paper napkin and run it over the pipe. If there are any leakages you will see water on the paper napkin. Fix the leak if there is any.
If there is nothing then successfully you have replaced the kitchen faucet.
Faqs
What's the first thing I should do before replacing a kitchen faucet?
Turn off the water — both hot and cold supply valves under the sink. Turn them clockwise until they stop. Then turn the faucet on to release any pressure and drain the remaining water sitting in the lines. Put a bowl or rag underneath before you disconnect anything because there’s always some residual water in the supply hoses. Skipping this step is how you end up soaking wet and angry on your kitchen floor.
How do I remove a kitchen faucet that won't budge?
Stubborn faucets are almost always caused by corroded mounting nuts that have been in place for years. Spray some penetrating oil (WD-40 works, PB Blaster works even better) up around the nuts and let it sit for 15–20 minutes before trying again. A basin wrench gives you the leverage to break them loose. If the nut is plastic and cracked, just break it off — you’re replacing the faucet anyway, it doesn’t matter. The old faucet’s only job at this point is to get out of the way.
How do I know which replacement faucet will fit my sink?
Before buying anything, check how many holes your sink has — one, two, or three. Most modern single-handle faucets need one hole. Two-handle faucets typically need three holes with 4-inch or 8-inch center spacing. Take a photo of your current sink setup and bring it to the hardware store if you’re unsure. The hole count and spacing determine your options more than anything else. Getting that wrong is the most common reason people end up making a second trip to the store.
Do I need to use plumber's putty when installing a new kitchen faucet?
Not always — and actually, many modern faucets come with a rubber gasket that seals against the sink deck without any putty at all. Check your new faucet’s instructions first. If it has a gasket, use it as-is. If there’s no gasket and the instructions call for putty, apply a thin rope of plumber’s putty around the base before setting it in place. One thing to avoid: never use putty on stainless steel sinks or on faucets with a plastic base — it can stain or degrade those materials over time. Silicone is a better choice in those cases.
Do I need to install a weight for pull-down and pull-out faucets?
Yes — and this is a step people skip thinking it’s optional. It’s not. The counterweight on the hose is what makes the spray head retract back into place automatically after you use it. Without it, the hose just hangs loose under the sink and the head droops down instead of snapping back. Your new faucet’s instructions will show exactly where to clip it on the hose — usually there’s a color-marked section on the hose to make placement obvious. Takes about 10 seconds to do correctly.
After installing the new faucet, how do I check if everything is done right?
Two checks before you call it done. First, turn the supply valves back on slowly and look underneath the sink while the water is running — watch every connection point for drips. Run your finger along each joint and check with a dry paper towel if you’re not sure. Second, flush the faucet for a full minute before using it normally. New faucets often have manufacturing debris, small particles, or sediment inside from the factory. Flushing it clears all of that out so it doesn’t end up clogging your aerator on day one. If you see any drips, tighten the connection a quarter turn at a time — don’t overtighten or you’ll crack a fitting.
Final words
People also search for
- Ultimate Kitchen Faucets Buying Guide | Complete Buying Guide
- How to Replace Delta Kitchen Faucet Sprayer Hose? – Real Solution!
- How to Remove Slotted Cleanout Plug: Tools and Techniques
- How To Remove A Stuck Faucet Stem?
- How To Connect Two Faucet Supply Lines Together? – Plumbing Solution
- How to Remove Aerator from Moen Kitchen Faucet? Unearth the Best Tricks!