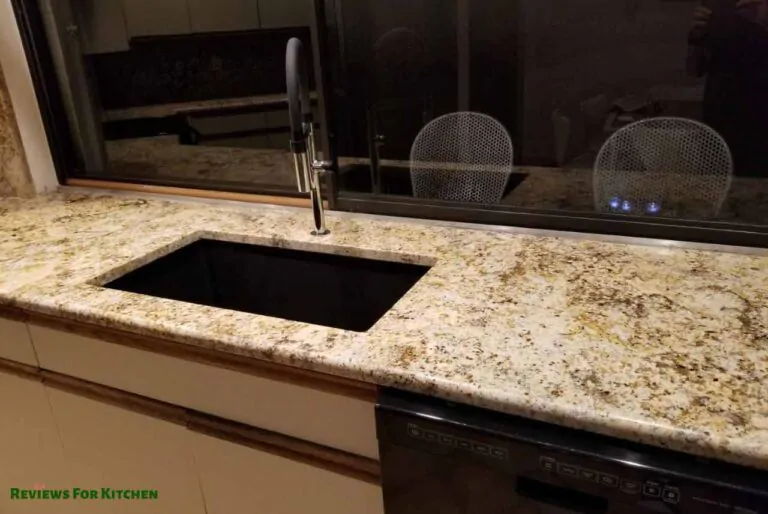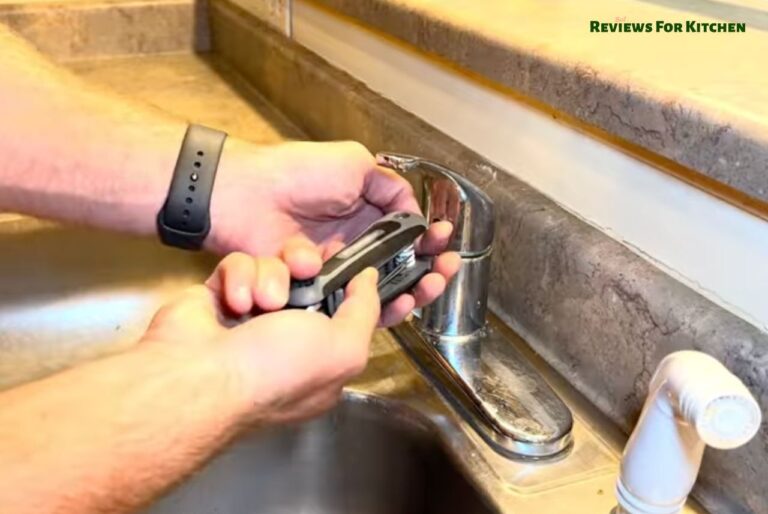
A few months into living in our current house, the kitchen faucet handle started to wobble every time I turned it. My first instinct was that the whole faucet was failing — that something internal had broken and we’d be looking at a full replacement. Twenty minutes of research later I discovered the actual problem: a tiny set screw under a decorative cap, just barely loose enough to let the handle rock back and forth. One hex key and two turns fixed it completely.
A loose kitchen faucet handle is one of the most common and most misdiagnosed plumbing issues in the home. Most of the time it’s a five-minute fix that costs nothing. Occasionally it points to something that needs a bit more attention — a worn cartridge, a stripped screw, or a handle that genuinely needs replacing. The difference between those scenarios is easy to figure out once you know what to look for, and that’s exactly what this guide covers.
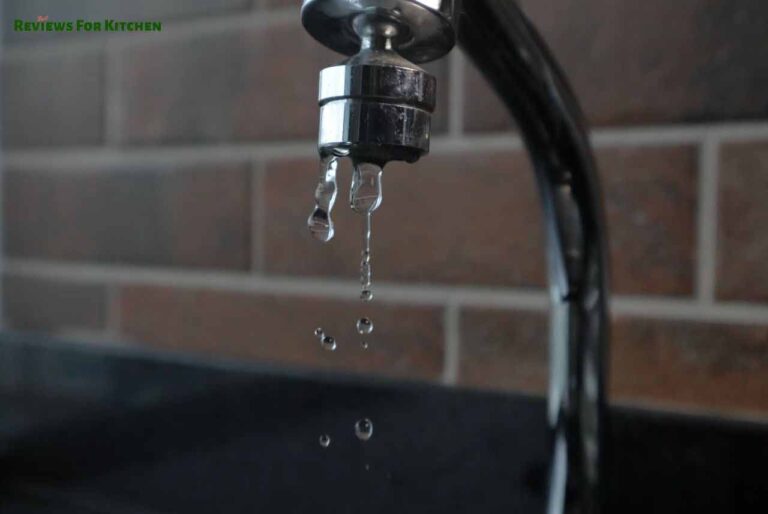
Before diving in: if the wobble is accompanied by a drip from the spout or water pooling around the handle base, the handle looseness and the leak are almost certainly connected. Our guide on how to fix a leaking kitchen faucet addresses that combination — tightening the handle often stops a minor drip, but when it doesn’t, the cartridge is usually the next thing to address.
⚡ Key Takeaways
- Most loose handles are caused by a set screw that has vibrated loose — a 5-minute fix
- The set screw hides under a small decorative cap on the top or front of the handle
- Most faucets use a 1/8-inch or 3/32-inch Allen wrench (hex key) for the set screw
- If the screw tightens but the handle wobbles again within days, the screw hole is likely stripped
- A worn cartridge causes a handle that wobbles even with the set screw fully tightened
- Handle-only replacement is worth doing when the faucet body is fine but the handle or screw connection is damaged
Why Kitchen Faucet Handles Come Loose — Diagnose Yours in 2 Minutes
Not every loose handle is the same problem, and the fix depends on which one you’re actually dealing with. Three situations account for nearly every case — and diagnosing which applies to your faucet before you start saves a lot of unnecessary work.
Most Common
Loose Set Screw
✓ 5-minute fix
Handle rocks or wobbles. Screw under the decorative cap has vibrated loose from daily use. Tightening it fixes the problem instantly.
Less Common
Stripped Screw or Hole
⚠ Handle replacement
Screw tightens but the handle loosens again within days. The screw or the hole it threads into has worn and no longer grips. Needs a new handle or a thread repair.
Least Common
Worn Cartridge or Stem
⚠ Cartridge replacement
Handle wobbles even with the set screw tight. The internal cartridge has worn down enough that it no longer supports the handle firmly. Requires cartridge replacement.
How to tell which situation you have
Start with the simplest test: try tightening the handle by hand first. If it swivels loosely without any resistance at all, the set screw is almost certainly the culprit. If the handle feels stiff in one axis but wobbles in another — for example, solid side-to-side but loose front-to-back — a worn cartridge or stem is more likely the issue.
Remove the decorative cap (more on exactly how to do that below) and look at the set screw. If it turns freely before you’ve applied any force, it’s loose. Tighten it, reinstall the cap, and test the handle again. If the wobble comes right back within a day or two, the screw hole itself is the problem.
Why set screws vibrate loose in the first place
Every time you turn the faucet handle, a small amount of torque is applied to the set screw. Over years of daily use — often thousands of on-off cycles per year — that cumulative vibration gradually backs the screw out of its hole. Some faucets are more prone to this than others depending on how the handle is designed and how much the screw relies on friction alone versus a locking thread treatment.
A tiny dot of blue threadlocker (Loctite 243 or similar) applied to the set screw threads before reinstalling is the long-term fix for a screw that keeps coming loose. It’s the same product used on bolts in cars and machinery to prevent vibration-induced loosening — and as Serious Eats notes in their kitchen fixture maintenance guide, it’s one of the most underused solutions in home plumbing despite being inexpensive and widely available. One application typically keeps a set screw in place for years.
How to Tighten a Loose Kitchen Faucet Handle — Step by Step
No water shutoff is needed for a simple set screw tightening. The screw holds the handle to the faucet stem but doesn’t affect the water flow itself — so you can do this repair in two or three minutes with the faucet running if you want to test whether the handle feels right before putting the cap back.
Tools to have ready
🔧 What you’ll need
- Allen wrench set (hex keys) — both imperial and metric sizes
- Flathead screwdriver — for prying off the decorative cap
- Needle-nose pliers — for fishing out a dropped screw if needed
- Blue threadlocker (Loctite 243) — optional but highly recommended to prevent future loosening
- Small container — to hold the cap and screw while you work
Finding and accessing the set screw
Every kitchen faucet handle has a set screw — the challenge is finding it. Manufacturers hide it behind a decorative cap to keep the handle looking clean. On most single-handle and lever-style faucets, the cap sits on top of the handle or on its front face. Insert a flathead screwdriver into the small notch on the cap’s edge and pry gently — the cap is usually plastic and pops off with very little force. Don’t use a knife blade or anything sharp; it’s easy to scratch the finish if you slip.
On some double-handle faucets, the cap has a colored indicator — red for hot, blue for cold. These sometimes unscrew counterclockwise rather than popping off. Try a gentle twist first before reaching for the screwdriver.
- Pry off the decorative cap – Use a flathead screwdriver or a coin in the cap’s notch. Work around the edge if it feels stuck — forcing one side too hard can crack plastic caps. Set the cap aside somewhere it won’t roll away or get scratched.
- Find the right Allen wrench sizeThe set screw is a small hex socket bolt — it requires an Allen wrench (also called a hex key), not a regular screwdriver. Try the 1/8-inch size first. If that’s too small, move up to 3/16-inch or try the metric 3mm and 4mm keys. The correct size will seat fully in the socket without any wobble.
- Tighten clockwise — firmly but not forcefullyTurn the Allen wrench clockwise until the screw seats snugly. The goal is firm, not tight enough to strip the threads. On most faucets, the screw needs surprisingly little torque — if you’re putting real muscle into it, stop and check that you have the right wrench size. Overtightening a small set screw strips the soft metal threads almost instantly.
- Apply blue threadlocker if you want it to last (optional but smart)Back the screw out one turn, apply a small drop of blue threadlocker to the threads, then tighten again. Blue threadlocker holds the screw against vibration but can still be removed with an Allen wrench if needed — unlike the permanent red variety. Give it 30 minutes to set before using the faucet normally.
- Reinstall the decorative cap and test the handlePress the cap back into place until it clicks. Operate the faucet handle several times, checking that the wobble is gone. If the handle still moves slightly, the screw may need another quarter turn.
⚠️ Stripped Screw Warning
If the Allen wrench turns freely without feeling any resistance — especially after the screw seemed tight — the screw threads are stripped. Stop immediately. Continuing to turn just widens the damage. Options at this point are replacing the handle (which gives you a fresh screw and hole) or using a slightly larger screw of the same type to re-thread the existing hole with a tap and die set.
Brand-Specific Notes: Finding the Set Screw on Moen, Delta, and Kohler Faucets
Set screw placement isn’t always obvious, and the location varies by brand and model. Here’s what to expect from the most common brands found in U.S. and Canadian kitchens.
| Brand | Cap Location | Typical Screw Size | Notes |
|---|---|---|---|
| Moen | Top center of handle, or small notch on front face | 7/64″ or 3/32″ Allen | Most Moen single-handle faucets have a cap that pops off. Lever handles often show the screw on the underside without a cap. |
| Delta | Decorative button on top, or under front collar | 1/8″ Allen or Phillips | Some Delta models use a Phillips screw rather than hex socket. Check before assuming you need an Allen wrench. |
| Kohler | Logo cap on top or color indicator on double-handle | 3/32″ or 7/64″ Allen | Kohler caps on double-handle models often unscrew rather than pry off. Try counterclockwise rotation first. |
| Pfister | Decorative disc on top of handle | 3/32″ Allen | Pfister caps sometimes snap off, sometimes have a small slot for a coin turn. Look closely at the edge before prying. |
| American Standard | Color button on top (hot/cold coded) | 1/8″ Allen | Color buttons pop off easily. Screw is directly underneath. |
When you can’t find a set screw at all
A small number of faucet handles thread directly onto the stem — they have no set screw at all. Instead, the handle itself screws on clockwise and off counterclockwise. Grip the handle firmly and try turning it counterclockwise. If it spins, that’s the design. Re-thread it clockwise until snug and it should stay put.
Other faucets — usually older designs — use a retaining nut hidden under the base collar of the handle rather than a visible set screw. Removing the decorative collar by unscrewing it reveals the nut, which can then be tightened with an adjustable wrench. Our guide on removing a Moen faucet aerator shows the general approach to working around Moen’s collar design — similar principles apply to handle access on older Moen models.
How to Replace a Kitchen Faucet Handle When Tightening Won’t Fix It
Let me be honest about when this becomes necessary: if the set screw is stripped, if the handle’s internal connection point has cracked, or if the handle keeps loosening within days of tightening despite adding threadlocker, a replacement handle is the right move. Chasing a stripped screw with increasingly aggressive fixes rarely works long-term.
Finding the right replacement handle
Handles are not universal. The replacement needs to match your faucet’s brand, model series, and stem connection type. Finding the model number is the most important step before ordering anything. Check these locations:
- The faucet body — stamped on the underside or the back near the base
- The original packaging or installation manual if you still have it
- A sticker on the supply lines under the sink (some manufacturers put it there)
- The manufacturer’s website — search by the finish and style if you can’t find a model number
Once you have the model number, most major brands sell replacement handles directly through their website or through plumbing supply stores. Universal replacement handles exist but are hit-or-miss on fit — a manufacturer-matched handle is worth the few extra dollars for a connection that fits properly. According to The Kitchn’s guide on faucet handle replacement, using the correct OEM or exact-match replacement is the single biggest factor in getting a solid handle connection that lasts.
Replacing the handle step by step
- Turn off the water supply valves under the sinkUnlike tightening a set screw, replacing a handle requires the water off. Turn both hot and cold shut-off valves clockwise until they stop. Open the faucet to drain residual pressure from the lines.
- Remove the old handlePop off the decorative cap, remove the set screw with an Allen wrench, and lift the handle straight up off the stem. On some designs, the handle screws on — turn counterclockwise to remove. If the handle feels stuck, a gentle rocking motion while pulling up usually frees it. Never crank it sideways — that risks bending the stem.
- Inspect the stemWith the handle off, look at the top of the cartridge or stem. If it’s visibly corroded, scored, or has obvious wear marks, the cartridge may be part of the reason the handle was loose. A corroded stem should be addressed before installing the new handle — our post on how to remove a stuck faucet stem walks through that process if you run into resistance.
- Slide the new handle onto the stemAlign the handle with the stem’s flat edge or keyway (the design that prevents the handle from spinning freely). Press the handle down firmly until it seats completely. A half-seated handle feels solid until the set screw is tightened — then shifts. Take a moment to confirm it’s fully down before proceeding.
- Install the set screw with blue threadlockerThread the new set screw in by hand first, add a drop of blue Loctite, then tighten with the Allen wrench. Firm and snug — not maximum force. Replace the decorative cap.
- Restore water supply and testOpen both shut-off valves slowly. Operate the faucet several times, checking that the handle is completely solid and no wobble remains. Let it run briefly to check for any drips at the connections before putting anything back under the sink.
When a Loose Handle Points to a Bigger Problem
Most loose handles are exactly what they look like — a mechanical connection that needs tightening. Occasionally, though, the handle wobble is a symptom of something going on deeper inside the faucet.
A worn cartridge causing handle wobble
If the handle wobbles even with the set screw fully tight and properly seated, the cartridge or stem has likely worn enough that it no longer holds the handle firmly in any position. The handle connects to the top of the cartridge, and a worn cartridge has more internal play than a new one — that play translates to handle movement that no screw tightening can eliminate.
Testing for this is simple: with the decorative cap off and the set screw tightened, try to wiggle the handle stem itself (not the handle body) back and forth. If the stem itself moves, the cartridge is the issue. Replacing the cartridge is a separate job from the handle — our post on fixing a leaky faucet with non-removable handles covers cartridge access and replacement in detail, including how to handle situations where the stem is difficult to reach.
When to replace the whole faucet rather than repair it
Handle replacement makes sense when the faucet body is in good condition and only the handle connection is damaged. Full faucet replacement becomes the smarter call when the cartridge is worn, the faucet is more than 15 years old, or replacement parts for that specific model are discontinued or expensive. As America’s Test Kitchen’s analysis of faucet repair versus replacement notes, a faucet body in poor condition that requires multiple repairs in quick succession rarely justifies continued investment — the parts cost accumulates toward new faucet territory fairly quickly.
Our post on when it’s time to replace a faucet lays out all eight decision signals clearly — worth checking before committing to a cartridge or handle repair on an older unit.
💡 Repair vs Replace Rule of Thumb
If the total cost of parts plus your time approaches $80 to $100 on a faucet over 12 years old, a new entry-level faucet at $120 to $150 is usually the better long-term value. You get fresh valves, a new finish, and a full warranty — versus gambling on how long other internal parts will last after fixing one thing.
Frequently Asked Questions
Why does my kitchen faucet handle keep getting loose?
The most common reason is a set screw that vibrates loose over time from daily handle use. If it keeps loosening after tightening, the screw threads or the hole they sit in are likely slightly worn. Applying blue threadlocker to the screw before reinstalling prevents vibration from backing it out again. A worn cartridge can also cause handle looseness that no set screw tightening can fix.
What size Allen wrench do I need for a kitchen faucet handle?
Most kitchen faucet set screws use a 1/8-inch or 3/32-inch Allen wrench. Some brands use metric sizes — typically 3mm or 4mm. A small hex key set covering both imperial and metric handles the vast majority of faucets on the market. Bring the full set to the job rather than trying to guess the size in advance.
Can a loose faucet handle cause a leak?
Yes. A handle that wobbles significantly can shift the cartridge slightly off-center, allowing water to seep past the internal seal. If dripping from the spout accompanies the wobble, tightening the handle often stops both problems. If the drip continues after the handle is secured, the cartridge likely needs replacing.
How do I find the set screw on my kitchen faucet handle?
Look for a small decorative cap on the top or front face of the handle — usually a plastic disc matching the handle color or finish. Pry it off gently with a flathead screwdriver. The set screw sits directly underneath. On lever-style handles, the screw is sometimes visible on the underside without any cap at all.
My faucet handle is loose but I can’t find any set screw — what now?
Some handles thread directly onto the faucet stem rather than using a set screw — try turning the handle counterclockwise firmly to confirm. Others use a retaining nut hidden under the base collar. Remove the decorative collar by unscrewing it counterclockwise to reveal the nut underneath. If neither applies, check your brand’s installation guide online for the specific handle attachment method.
Should I replace the handle or the whole faucet?
Replace the handle only when the faucet body is working well and the handle’s connection point is the sole problem. Consider replacing the whole faucet when the cartridge is worn, the faucet is over 15 years old, or repair parts are discontinued. Our detailed guide on when it’s time to replace a faucet walks through all eight decision signals.
The Short Version
Start with the set screw under the decorative cap. Tighten it with the right Allen wrench, add a drop of blue threadlocker while you’re there, and the handle wobble is gone in five minutes for most people. If the screw is stripped, replace the handle. If the handle wobbles even with the screw tight, the cartridge is the likely culprit.
Don’t replace the whole faucet just because the handle is loose — that’s almost never necessary. But do replace it if you find yourself stacking repairs on a faucet that’s already over a decade old. At that point the math usually favors a fresh start over repeated fixes.
Looking for a solid replacement faucet that won’t have you back at this problem in two years? Our roundup of the best rated kitchen faucets covers the top options across budgets — rated specifically on valve quality and long-term reliability so you’re not just buying a pretty finish.
Was your handle a quick set screw fix or something more involved? Drop it in the comments — I read every one. If you ran into a brand-specific quirk I didn’t cover above, it’ll help the next person who finds this page.
Was your handle a quick set screw fix or something more involved? Drop it in the comments — I read every one. If you ran into a brand-specific quirk I didn’t cover above, it’ll help the next person who finds this page.