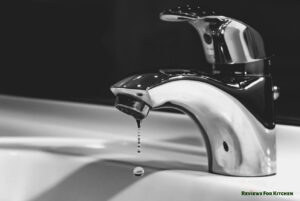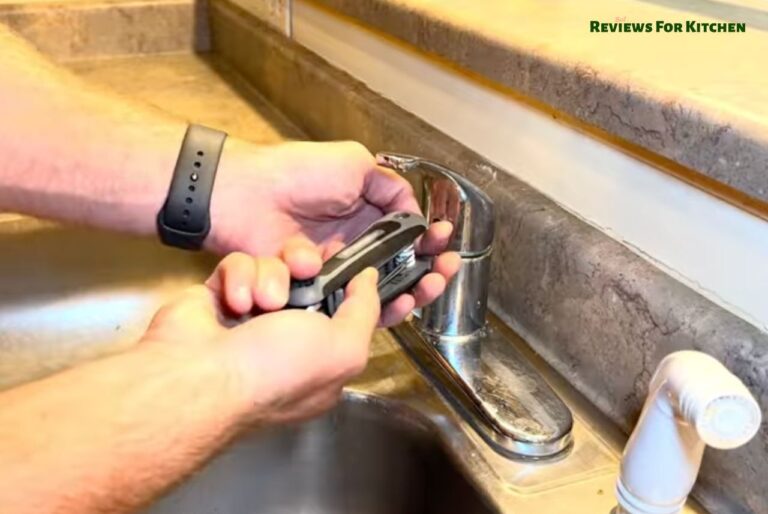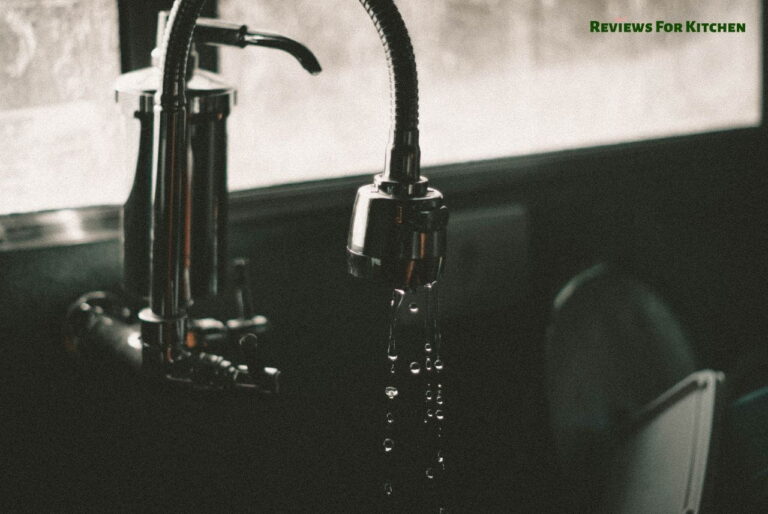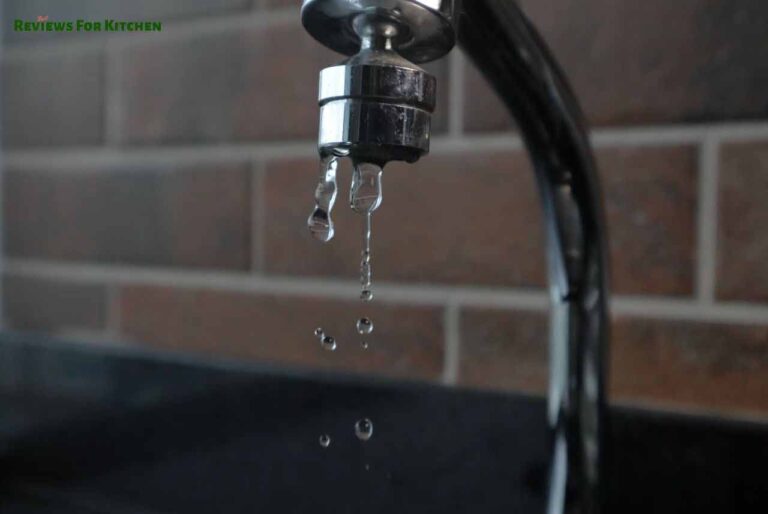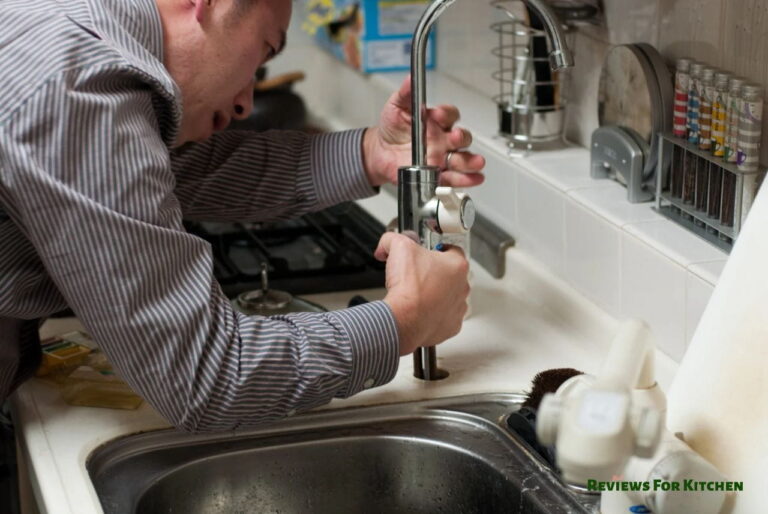
Three weeks. That’s how long I spent assuming our kitchen sprayer was broken beyond repair. The stream had gone from a solid, satisfying blast to an embarrassing trickle — barely enough pressure to rinse a bowl. So I replaced the sprayer head. No change. Bought a new hose. Still the same weak trickle. The actual problem turned out to be a tiny rubber diverter valve that had cracked — a part the size of a thumbnail, about $4 at the hardware store, a ten-minute job. I’d wasted $35 and three weekends on the wrong diagnosis.
That experience is why this guide starts with diagnosis before anything else. A kitchen faucet sprayer not working is almost always a fixable problem, but the fix depends entirely on which of four common causes you’re actually dealing with. Jump straight to replacing parts without diagnosing first and you’ll likely buy the wrong thing.
This guide covers every common cause — clogged sprayer head, failing diverter valve, kinked hose, stuck spray button — with a clear self-test for each and step-by-step fix instructions. Worth noting: if the sprayer problem is combined with general low water pressure from the main faucet too, those issues may share a common cause. Our guide on how to repair low pressure in a kitchen faucet covers that scenario separately.
⚡ Key Takeaways
- Check for a kinked hose under the sink first — it takes 30 seconds and is often the only fix needed
- A sprayer that runs weak while the main faucet runs fine almost always means a failing diverter valve
- Clogged sprayer heads clean easily with a 30-minute white vinegar soak
- A spray button stuck between modes is usually mineral deposit buildup — soakable, not a replacement job
- Hose replacement is inexpensive and takes 20 minutes — brand-matched hoses fit best
- If three fixes still haven’t solved it, the faucet body’s internal valve may be the real issue
Diagnose Your Sprayer Problem Before Buying Any Parts
The biggest mistake people make is replacing the sprayer head immediately. It’s an easy part to buy and feels like a logical first step — but a new head won’t fix a bad diverter, a kinked hose, or a stuck spray button. Spending five minutes on the right diagnosis saves you from spending $20 to $50 on the wrong parts.
Cause 1
Kinked Hose
Sprayer has zero or very little output. Main faucet runs perfectly. Opening the cabinet reveals the hose bent at a sharp angle.
Cause 2
Bad Diverter Valve
Sprayer is weak or dead while main faucet flows normally. Pressing sprayer trigger causes main faucet to slow noticeably.
Cause 3
Clogged Sprayer Head
Stream is uneven, sputtering, or weaker than before. Some spray holes are clearly blocked. Sprayer works but poorly.
Cause 4
Stuck Spray Button
Sprayer only works on one mode (stream or spray) and won’t switch. Button clicks but nothing changes, or button feels stiff.
The 60-second self-test sequence
Run through these checks in order before opening any toolbox. Each one takes under a minute and will identify the problem in most cases:
- Open the cabinet under the sink and look at the sprayer hose. Pull it gently straight to check for kinks. If it bends sharply anywhere, that’s your problem.
- Turn on the main faucet fully. Now press the sprayer trigger. Does the main faucet flow drop significantly when you press it? That’s a diverter valve symptom.
- Look closely at the sprayer head nozzles. Hold it up to a light. Blocked holes — visible as white mineral deposits — indicate a clog.
- Press the spray mode button several times while running the sprayer. If it clicks but nothing changes, the button mechanism is stuck.
One check almost always identifies the cause. Work through the relevant section below for the fix.
Fix 1: Kinked or Damaged Sprayer Hose — The Easiest Fix to Miss
A kinked hose is embarrassingly simple to overlook because the faucet itself looks completely normal from above the sink. Everything operates the same way it always did — right up until you press the sprayer trigger and nothing comes out. Open the cabinet, though, and the problem is obvious: the hose has bent back on itself somewhere along its path, restricting or completely blocking flow.
How to inspect and straighten the hose
Pull the sprayer head down to its full extension and watch what happens to the hose inside the cabinet. Follow the hose visually from the faucet body down to the supply connection. A kink usually forms at one of two spots: where the hose exits the faucet body at the top of the cabinet interior, or where it loops back near the bottom before connecting to the water supply.
Straightening a simple kink is as easy as repositioning the hose so it curves naturally rather than bending. Holding the hose in a gentle arc — not a tight bend — while extending and retracting the sprayer a few times usually trains it back into position. If the kink is a sharp crease that returns immediately when released, the hose has taken a permanent set and needs replacing.
When the hose needs replacing
A hose that kinks repeatedly in the same spot, shows visible cracking along the outer sleeve, or has any moisture or dripping at the connections has reached the end of its service life. Replacement hoses are inexpensive — typically $12 to $25 — and the job takes about 20 minutes. Brand-matched hoses (Delta for Delta, Moen for Moen) connect more cleanly than generic options and are worth the few extra dollars. Our detailed walkthrough for replacing a Delta kitchen faucet sprayer hose shows the process step by step — the same basic sequence applies to most other brands.
While the hose is disconnected, inspect it for pinhole leaks by running your thumb slowly along its entire length. A damp spot that isn’t near a fitting indicates a pinhole — invisible from a distance but enough to reduce sprayer pressure noticeably. As Serious Eats notes in their kitchen equipment maintenance guide, pinhole hose leaks are one of the most commonly missed causes of reduced sprayer performance because the leak is inside the cabinet where it isn’t immediately visible.
Fix 2: The Diverter Valve — The Most Misdiagnosed Sprayer Problem
Most people have never heard of a diverter valve. That’s probably why it’s the cause that gets misdiagnosed most often — people replace the sprayer head, the hose, even the whole faucet, without ever finding the actual problem.
What a diverter valve does and why it fails
The diverter is a small internal valve — usually located inside the faucet body, sometimes inside the spout — that redirects water flow between the main spout and the side or pull-down sprayer. When you’re using the faucet normally, water flows through the spout. Press the sprayer trigger and the diverter shifts, routing water down the sprayer hose instead.
Over time, the rubber seal on the diverter wears down or mineral deposits prevent it from fully shifting position. The result is a valve that only partially diverts flow — some water goes to the sprayer, most still exits the spout, and you get a weak trickle from the sprayer no matter how hard you press the trigger. According to The Kitchn’s guide on faucet sprayer repair, diverter valve failure accounts for the majority of kitchen sprayer problems on faucets over five years old — yet it’s consistently the last thing people check because it requires looking inside the faucet body.
How to test your diverter valve
Turn on the main faucet to a moderate flow. Press and hold the sprayer trigger. Watch what happens to the main faucet stream — if it slows or nearly stops while the sprayer produces only a weak trickle, the diverter is trying to work but failing to fully redirect the flow. That’s a classic failing diverter symptom.
For comparison: a healthy diverter causes the main faucet flow to stop almost completely when the sprayer trigger is held, while the sprayer puts out full pressure. Any scenario where both are running simultaneously — main faucet still flowing strongly while the sprayer is active — means the diverter isn’t diverting.
Replacing the diverter valve
- Turn off the water supply valves under the sinkBoth hot and cold, fully clockwise. Open the faucet to drain residual pressure. Put a towel and small bucket under the work area.
- Access the diverterLocation varies by faucet design. On many single-handle pull-down faucets, the diverter is accessed by removing the spout sleeve — lift the spout up and off (on swivel models it twists and lifts). On side-sprayer faucets, the diverter is typically located inside the faucet body behind the main handle assembly. Check your faucet’s manual or look up your model number to confirm the location before disassembling.
- Remove the old diverterMost diverters pull straight out or unscrew with a flathead screwdriver. Take a photo before removing it — the orientation matters when installing the new one. Bring the old diverter to the hardware store to match the replacement exactly, or order one from the manufacturer by model number.
- Clean the diverter seat before installing the new oneMineral deposits inside the diverter housing can prevent a new diverter from seating properly. Spray white vinegar into the housing and let it sit for five minutes, then flush with water. A clean housing gives the new diverter a proper seal from day one.
- Install the new diverter and reassemblePress or thread the new diverter into place in the same orientation as the old one. Reassemble the spout or handle assembly in reverse order. Restore water supply and test — the sprayer should now have full pressure when the trigger is pressed.
💡 Part Cost Note
Diverter valves typically cost $5 to $20 depending on brand and model. They’re available from the faucet manufacturer directly, most plumbing supply stores, and major online retailers. The entire repair — parts and labor — is almost always under $25 when done yourself. Even if a plumber does it, a diverter replacement is usually a 30-minute job.
Fix 3: Clogged Sprayer Head — Hard Water Mineral Buildup
If your sprayer works but gives an uneven, sputtering, or weaker-than-before stream — with the diverter confirmed working — a clogged sprayer head is almost certainly the cause. Calcium and magnesium deposits from hard water gradually block the small spray holes over months of use, restricting flow from individual jets until the pattern becomes irregular or the overall pressure drops noticeably.
Cleaning without removing the head
Light buildup responds well to a vinegar soak without any disassembly. Fill a small zip-lock bag or a rubber-band-secured plastic bag with undiluted white vinegar. Submerge the sprayer head completely with the nozzles facing into the vinegar. Leave for 30 to 60 minutes. The acetic acid in the vinegar dissolves calcium carbonate — the main component of hard water scale — without any scrubbing.
After soaking, run the sprayer at full pressure for 30 seconds to flush loosened mineral debris out through the nozzles. Repeat the soak if some holes are still blocked. For the aerator screen inside the spray head, our guide on cleaning a Delta pull-down faucet aerator covers the removal and cleaning process — the same technique works for most pull-down spray head designs.
When to replace the sprayer head entirely
Sprayer heads that don’t respond after two or three vinegar soaks have mineral deposits that have hardened past the point where acid can fully dissolve them. At that stage, replacement makes more sense than continued cleaning attempts. Spray heads are inexpensive — usually $10 to $30 — and attach to the existing hose with a simple quick-connect or threaded fitting. Confirm whether your hose uses a quick-connect (press-in) or threaded connection before ordering, since both types are common but aren’t compatible with each other.
America’s Test Kitchen’s testing of kitchen faucet spray head performance over time found that rubber-nozzle spray heads — where each spray hole is made of flexible rubber rather than rigid plastic — resist mineral clogging significantly better than rigid-nozzle designs because deposits can’t permanently bond to the flexible surface. When buying a replacement head, the rubber-nozzle option is worth the few extra dollars if hard water is a recurring issue in your home.
Fix 4: Stuck Spray Button and Other Less Common Causes
Beyond the three main causes, a handful of other issues can make a kitchen faucet sprayer underperform or fail entirely. Most are quick to identify and fix once you know what to look for.
Spray button stuck between modes
Pull-down and pull-out sprayers typically offer two modes — a focused stream and a wider spray pattern. The button that switches between them is a small mechanical switch inside the spray head. Hard water mineral deposits can gradually glue that button in one position, leaving you permanently on stream or permanently on spray with no way to toggle.
The fix is almost the same as for a clogged spray head: soak the entire spray head in white vinegar for 30 to 60 minutes. While soaking, press the button repeatedly — the vinegar breaks down the deposits holding it stuck. Run the sprayer afterward and test the button again. If it still won’t switch after a thorough soak, the spray head needs replacing. The mechanism itself isn’t repairable when the internal components have corroded — but the head replacement is cheap and straightforward.
⚠️ Button Tip
When pressing the spray mode button during the vinegar soak, hold the spray head underwater in the vinegar rather than above the sink. The button mechanism needs direct acid contact to dissolve the mineral deposits inside it — pressing the button while the head is dry won’t help.
Supply pressure too low overall
A sprayer connected to a faucet with genuinely low supply pressure will always underperform regardless of how clean the head or how good the diverter is. If every water source in the kitchen — main faucet, sprayer, nearby appliances — seems weaker than it should be, the problem is upstream of the faucet rather than in it. Partially closed shut-off valves under the sink are the most common culprit for localized low pressure. Both valves should be turned fully counterclockwise to the open position. Our post on fixing low pressure in a kitchen faucet walks through the full diagnostic if this is what you’re dealing with.
Loose or failed hose connection at the spray head
The connection between the hose and the spray head is a friction-fit or threaded joint that can loosen over time. A loose connection lets water bypass the spray head rather than flowing through it correctly — you’ll usually see or feel water spraying from around the connection point rather than from the nozzles. Disconnect the head, inspect the O-ring or gasket at the connection, replace it if it’s cracked or flattened, and reconnect. On quick-connect fittings, confirm the head clicks fully into place — a half-seated connection looks secure but leaks pressure.
Quick-reference: symptom to cause to fix
| Symptom | Most Likely Cause | Fix | Time & Cost |
|---|---|---|---|
| No output at all, main faucet fine | Kinked hose | Straighten or replace hose | 2 min / free or ~$15 |
| Weak trickle, main faucet slows when sprayer pressed | Bad diverter valve | Replace diverter | 30 min / ~$8–$20 |
| Uneven, sputtering stream | Clogged sprayer head | Vinegar soak or new head | 1 hr soak / free–$25 |
| Stuck on one spray mode | Mineral deposit in button | Vinegar soak + press button; or replace head | 1 hr / free–$20 |
| Water spraying around connection point | Loose hose-to-head connection | Reseat, check O-ring | 5 min / free–$2 |
| Low pressure on sprayer AND main faucet | Supply valve or upstream pressure | Check shut-off valves; diagnose pressure | 5 min / free |
Frequently Asked Questions
Why is my kitchen faucet sprayer not working?
The most common causes are a kinked hose under the sink, a failed diverter valve, a clogged sprayer head blocked by mineral deposits, or a spray button stuck between modes. Check the hose first — it takes 30 seconds and solves the problem more often than most people expect. The diverter valve is the most misdiagnosed cause: if the main faucet runs fine but the sprayer is dead or weak, the diverter is almost certainly failing.
What is a diverter valve on a kitchen faucet?
A diverter valve redirects water flow between the main spout and the sprayer depending on which you’re using. When the sprayer trigger is pressed, the diverter shifts to send water down the hose instead of through the spout. When it wears out or becomes clogged, it can’t fully redirect flow, leaving the sprayer with weak or no output even while the main faucet continues to work normally.
How do I know if my faucet’s diverter valve is bad?
The classic sign is a sprayer with weak or no pressure while the main faucet flows normally. Press the sprayer trigger and watch the main faucet — if it barely slows while the sprayer still produces only a trickle, the diverter isn’t properly redirecting water. Diverter replacement costs under $20 and takes about 30 minutes, making it one of the better-value faucet repairs.
Can I clean a clogged faucet sprayer head without removing it?
Yes, for light to moderate mineral buildup. Secure a bag of undiluted white vinegar around the sprayer head with a rubber band so the nozzles are fully submerged. Leave for 30 to 60 minutes, then run the sprayer at full pressure to flush loosened deposits. For heavy buildup or a spray button stuck between modes, removing the head and soaking it fully in a bowl works better than the bag method.
How long does a kitchen faucet sprayer hose last?
A good-quality braided stainless hose typically lasts 10 to 15 years. Cheaper plastic hoses can crack or develop pinhole leaks within 5 to 7 years, especially where the hose bends repeatedly against the cabinet. If your faucet is over 10 years old and you’re having sprayer problems, replacing the hose proactively along with whatever else you’re fixing is a smart call.
When should I replace the whole faucet instead of repairing the sprayer?
Replace the faucet when multiple components are failing at once, the faucet is over 12 to 15 years old, or replacement parts for your specific model are discontinued. A single sprayer issue — even a diverter — doesn’t justify replacing a faucet in good condition. Our guide on when it’s time to replace a faucet has the full eight-signal checklist for making that call.
Fix It in Order, Don’t Replace Everything at Once
Start under the sink. A kinked hose is a free fix that takes under a minute. Next, test the diverter by watching what happens to the main faucet when you press the sprayer trigger — that test alone identifies the most commonly misdiagnosed cause. Then clean the sprayer head with vinegar before spending money on a new one.
Most kitchen faucet sprayer problems are solved with one of these three steps, in that order, for under $20 total. Replacing the hose is the next step if the hose has physical damage. A full faucet replacement rarely makes sense unless the faucet has other problems beyond the sprayer.
If you’ve worked through all four fixes and the sprayer still isn’t right, it may be time to step back and look at the faucet as a whole. Our roundup of the best pull-down kitchen faucets is a good place to start — many of the top-rated models have made the sprayer and diverter system their most improved component in recent years, precisely because it’s historically been the weakest point in most designs.
Which cause was yours? The diverter gets me every time I talk to someone about this — it’s always the last thing people check. Drop a comment below with what fixed yours. It helps the next person reading this skip straight to the right solution.
Which cause was yours? The diverter gets me every time I talk to someone about this — it’s always the last thing people check. Drop a comment below with what fixed yours. It helps the next person reading this skip straight to the right solution.