I learned this lesson the hard way. For two years, I barely thought about my range hood filters. They were just there, doing their thing—or so I thought. Then one day, I noticed the suction was getting weaker and weaker. The kitchen smelled like every meal I’d cooked in the past week. When I finally looked at the filters, I was shocked. They were caked with grease so thick I could barely see through the mesh.
That’s when I realized something crucial: how to maintain range hood filters isn’t something most people learn until they’ve already let things slide. And by then, the filters are either dying or dead.
Here’s the thing though—if you know the basics of filter maintenance, you avoid all of that. Your hood works better, your kitchen stays fresher, and your filters last way longer. This guide will walk you through exactly what you need to do, when to do it, and why it matters so much.
Quick Summary: Your Range Hood Filter Maintenance Plan
- Clean filters monthly if you cook frequently — This is the golden rule for most home kitchens
- Inspect filters every two weeks — A quick visual check tells you when cleaning is needed
- Know your filter type — Mesh and baffle filters have different maintenance needs
- Replace filters every 6-12 months — Even the best-maintained filters wear out eventually
- Use the right cleaning method — Dishwasher, degreaser, or hot water depending on filter type
- Dry filters completely before reinstalling — Water trapped in the filter causes problems down the road
Why Filter Maintenance Actually Matters (More Than You Probably Think)
Let me be real with you: a dirty range hood filter doesn’t just look gross. It actively works against your health and your kitchen.
When you cook, grease particles and smoke get pulled toward your range hood. The filter traps those particles so they don’t circulate back into your kitchen air. But as the filter gets dirtier, it works harder and harder to catch everything. Eventually, it can’t keep up, and grease-laden air starts cycling back into your space.
Beyond air quality, a clogged filter puts strain on your exhaust fan motor. That motor has to work overtime to push air through all that buildup. Over time, this wears out the motor faster than it should. According to America’s Test Kitchen, proper kitchen ventilation maintenance—including filter upkeep—is one of the most overlooked aspects of cooking setup that directly impacts both air quality and appliance longevity.
And here’s something most people don’t think about: a well-maintained filter saves you money. You don’t need to replace it as often. Your motor lasts longer. Your entire hood system stays efficient. That small amount of effort every month pays dividends.
Understanding Your Filter Type (Know What You’re Cleaning)
Not all range hood filters are the same. Before you clean anything, you need to know what you’re working with. The wrong cleaning method can actually damage your filter.
Mesh Filters (The Most Common)
These are the accordion-style or waffle-pattern screens you see in most under-cabinet hoods. They’re made of aluminum and designed to trap grease particles. Mesh filters are durable and relatively easy to clean, which is why they’re so popular.
Characteristics: Lightweight, visible grease buildup, usually dishwasher-safe, prone to collecting grease in the creases.
Best cleaning method: Hot water with degreaser, or the dishwasher on a normal cycle. They handle both well.
Baffle Filters (The Heavy-Duty Option)
Baffle filters are solid, curved pieces (usually stainless steel or aluminum) that force air to change direction multiple times. This design traps more grease than mesh filters, making them more efficient but also dirtier over time.
Characteristics: Heavy, smooth surface, catches more grease, lasts longer than mesh, trickier to clean thoroughly.
Best cleaning method: Soaking in hot, degreased water, then hand scrubbing. Some can go in the dishwasher, but hand cleaning gets them cleaner. Check your manual first.
Charcoal or Carbon Filters (For Ductless Hoods)
If you have a ductless (recirculating) range hood, you might have charcoal filters. These are different—they absorb odors rather than just trapping grease particles.
Characteristics: Can’t be cleaned, must be replaced regularly (usually every 6 months), get saturated with odors over time.
Best approach: Don’t try to clean these. Just replace them on schedule. Cleaning won’t restore their odor-absorption ability.
Method 1: Monthly Filter Cleaning (The Core Maintenance Routine)
This is the work that keeps your hood running strong. Monthly cleaning isn’t complicated, but it’s essential. Here’s exactly how to do it.
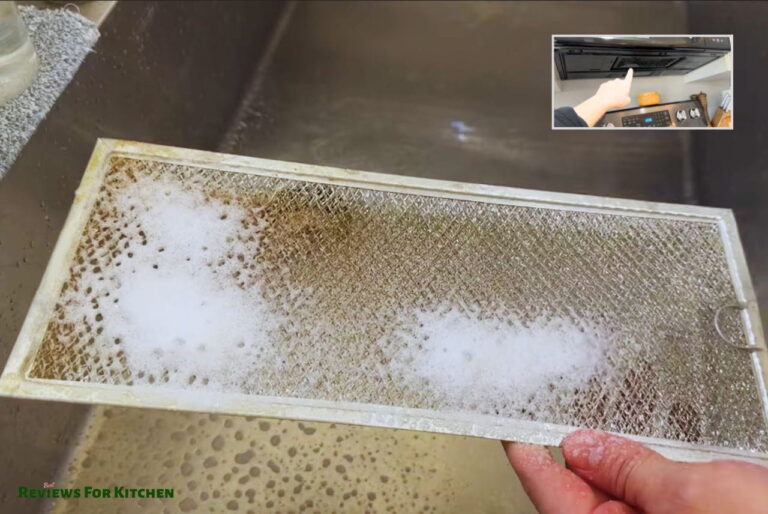
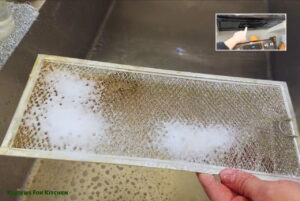
The Hot Water and Degreaser Method (Easiest)
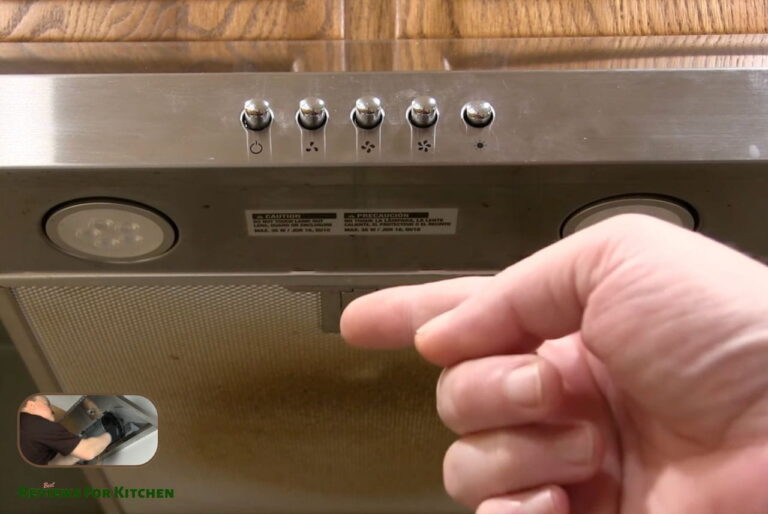
- Turn off your range hood and let the filters cool for 5-10 minutes
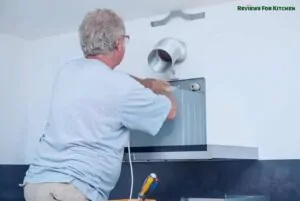
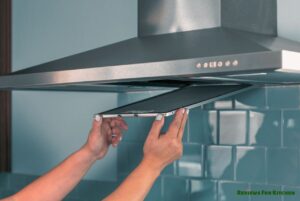
- Remove the filters by sliding or unscrewing them (check your manual if you’re unsure)
- Fill your sink or a large container with hot water and add a generous squirt of degreaser (Dawn dish soap works great, or use a commercial range hood cleaner)
- Soak the filters for 10-15 minutes—the grease starts loosening immediately
- Use a soft brush or old toothbrush to gently scrub both sides of the filter, working from top to bottom
- Pay extra attention to the creases and corners where grease builds up
- Rinse thoroughly under hot running water until the water runs clear
- Shake off excess water and let the filters air dry completely (at least 30 minutes) before reinstalling
- Reinstall the dry filters and turn the hood back on
That’s it. This whole process takes about 20-30 minutes, and your filters will look new again. The water that drains off will probably be pretty gross the first few times—don’t be alarmed. That’s just years of grease leaving your filter.
The Dishwasher Method (If Your Filters Allow It)
Some mesh filters are dishwasher-safe. If yours are, you have an easier option for monthly cleaning.
Remove the filters, place them on the top rack of your dishwasher, and run a normal cycle with heated dry. That’s genuinely all there is to it. Just make sure your manual confirms dishwasher safety first—not all filters can handle it.
Pro Tip: The Every-Two-Weeks Visual Check
Between full cleanings, take 30 seconds to look at your filters. Are they visibly darker? Getting greasier? If you’re a heavy cook or have guests over frequently, you might need to clean more often than monthly. Quick visual checks help you stay on top of it.
Method 2: Deep Cleaning When Filters Get Really Dirty (The Serious Scrub)
Sometimes monthly cleaning just isn’t enough. Maybe you’ve let things slide for a few months, or maybe you just cook a lot. When filters get really caked with grease, they need a deeper clean.
The Soak-and-Scrub Approach
- Fill a bathtub or large container with hot water and add 2-3 tablespoons of degreaser or heavy-duty kitchen cleaner
- Place your filters in the tub and let them soak for 20-30 minutes (longer soak = more grease loosens)
- Use a stiff brush (an old grout brush works great) to really scrub the grease away
- For stubborn grease, you might need a plastic scraper or even an old credit card—something that won’t scratch the filter
- Rinse repeatedly under hot water until they’re completely clean
- Dry completely before reinstalling
This takes longer than monthly maintenance, but it gets filters genuinely clean again. If you do this every 3-4 months, you’ll never let them get truly gross.
When to Use Commercial Range Hood Cleaners
There are products specifically designed for range hood filters. These tend to be stronger degreasers than regular dish soap. They work great for really stubborn buildup, and they’re worth keeping on hand if you cook a lot.
However, regular dish soap and hot water handle 90% of filter cleaning. Don’t feel like you need the fancy products—the basics work.
Method 3: Knowing When to Replace vs. Clean (The Maintenance Decision)
Eventually, even the best-maintained filters need to be replaced. Knowing when that time comes is important.
Signs Your Filter Needs Replacement (Not Just Cleaning)
- The filter is damaged, bent, or has visible holes or tears
- After cleaning, it still looks dark or discolored (the material itself is deteriorating)
- Water no longer beads up on the surface—it soaks in (the filter coating is wearing out)
- You’ve had the filter for 6-12 months of heavy use
- Even after cleaning, your suction power doesn’t improve
Replacement filters cost $25-$100 depending on your hood model. It’s worth the investment. A worn-out filter that looks clean still isn’t doing its job properly.
Extending Filter Life Through Maintenance
Here’s the truth: consistent monthly cleaning can extend your filter life to 12+ months. Neglecting them means you might need replacement every 4-6 months. The maintenance literally doubles the lifespan of your filters.
If you’re wondering how often to clean specific filter types or when exactly to replace them, we have detailed guides on how to clean range hood mesh filters and maintenance schedules for different filter materials.
Related Maintenance You Shouldn’t Ignore (The Bigger Picture)
Filter maintenance is crucial, but it’s just one part of keeping your range hood running well. If you’re cleaning your filters, you should also think about the other components.
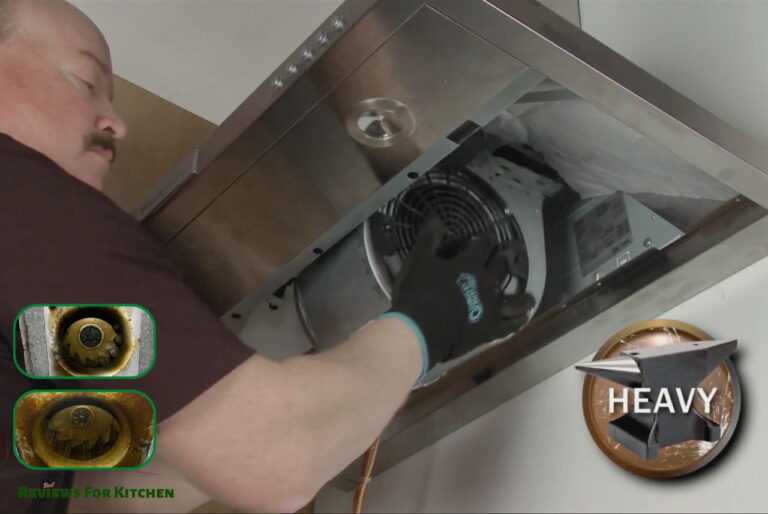
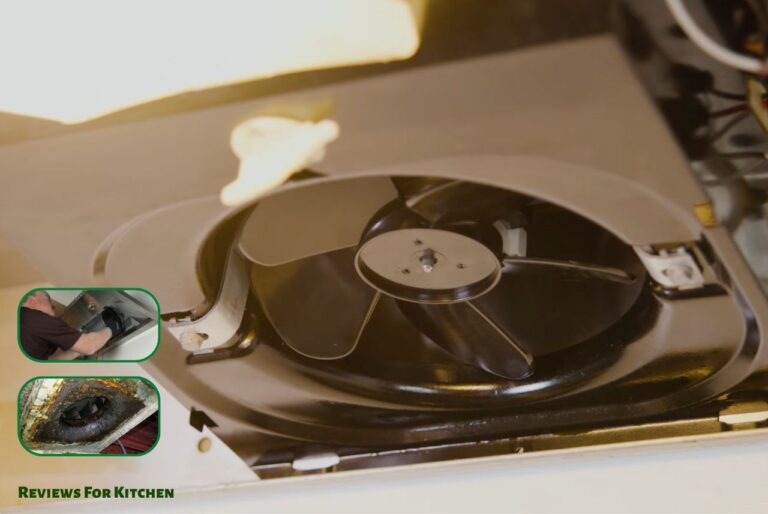
The exhaust fan motor can get dirty too. When the motor gets clogged with grease, it works harder and fails sooner. That’s why cleaning your range hood fan motor matters—it’s preventive maintenance that keeps your whole system running efficiently.
Similarly, the kitchen exhaust fan itself needs attention. And if your hood has ducts, cleaning the range hood duct prevents blockages that kill your suction. All of these things work together.
Think of it like caring for your car. You don’t just change the oil—you rotate the tires, replace the air filter, and check the brakes. Same idea with your range hood. The filter is important, but it’s part of a system.
Frequently Asked Questions About Range Hood Filter Maintenance
Q: Can I use a pressure washer to clean my range hood filters?
No. High-pressure water can damage the filter material and mess up the metal structure. Stick to hand-washing with hot water and a soft brush. It’s slower but infinitely safer for your filters.
Q: What’s the difference between cleaning and replacing a filter?
Cleaning removes grease and dirt buildup, restoring function temporarily. Replacement puts in a fresh filter when the old one is worn out and can’t be cleaned back to effectiveness. Both are necessary at different times.
Q: Can I run my range hood without a filter?
Technically yes, but you shouldn’t. A filterless hood pulls unfiltered grease and particulates directly into your ductwork, which accelerates buildup in your ducts and makes everything dirtier faster. Always use a filter.
Q: How do I know what replacement filters to buy?
Check your range hood’s model number and look it up on the manufacturer’s website. Or take a photo of your current filter and bring it to a appliance parts store. They can match it for you. Never guess at filter size or type.
Q: Is it okay to clean filters while they’re still wet from the last cooking session?
Let them cool first (5-10 minutes). Cleaning a hot filter is uncomfortable and can cause burns. Plus, you work better when you’re not dealing with steam and heat.
Q: What should I do with old filters after I remove them?
If they’re still functional (just dirty), clean and reinstall them. If they’re truly worn out and need replacement, throw them in the trash. They’re not recyclable typically—metal frames mixed with filter material make them unsuitable for recycling programs. Check your local recycling guidelines to be sure.
The Bottom Line: Maintenance Beats Replacement Every Time
Here’s what I’ve learned after years of neglect followed by years of proper maintenance: spending 20 minutes a month cleaning your filters saves you hundreds of dollars and endless frustration.
Your range hood works better when filters are clean. Your kitchen air stays fresher. Your motor lasts longer. And you don’t have to drop $100+ on replacement filters as often.
It’s genuinely simple stuff. Monthly cleaning, occasional deeper scrubbing, and knowing when to replace. That’s your whole maintenance routine. It’s not complicated, and it absolutely works.
Start with this month. Remove your filters, soak them, scrub them, and dry them completely. Then mark your calendar for next month. Stick with it for three months, and it’ll become automatic. Your future self—and your kitchen—will be so grateful.