
My range hood used to sound like a jet engine preparing for takeoff. Seriously. I’d turn it on high, and my whole family would wince. We stopped using it because the noise was unbearable—which meant our kitchen smelled like cooking all day.
The frustrating part? I assumed it was just how powerful hoods sounded. I was resigned to it. Then one day, out of desperation, I started investigating. And that’s when I discovered something: a noisy hood doesn’t have to be noisy.
If you’re struggling with a loud range hood, this guide is for you. Learning how to fix a noisy vented range hood starts with understanding what’s actually making the noise. Sometimes it’s a simple fix. Sometimes it requires professional help. But almost always, something can be done.
We’ll walk through the common causes of range hood noise, how to diagnose which one you’re dealing with, and exactly what you can do to fix it. By the end, your hood should be noticeably quieter—or at least you’ll know why it isn’t and what your options are.
Quick Summary: Noise Diagnosis and Solutions
- Identify the noise type — Rattling, buzzing, whistling, and humming all point to different problems
- Check for loose components — Vibrating parts are often the culprit and usually fixable
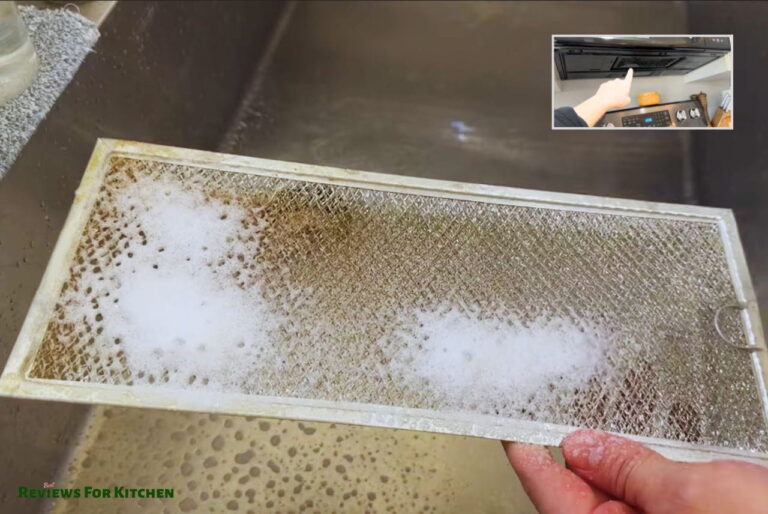
- Inspect and clean filters — Clogged filters force the motor to work harder, increasing noise
- Verify ductwork integrity — Bent ducts, loose connections, and blockages create vibration and whistling
- Examine damper function — A stuck or failing damper causes rattling and restricts airflow
- Check mounting hardware — Loose mounting brackets transfer vibration to cabinetry, amplifying noise
- Consider motor age — Motors naturally get louder over time; replacement may be necessary eventually
Why Range Hoods Get Loud (Understanding the Root Causes)
Before you start fixing anything, you need to understand what’s actually happening. Range hoods don’t just spontaneously get louder. Something has changed—usually maintenance-related or wear-related.
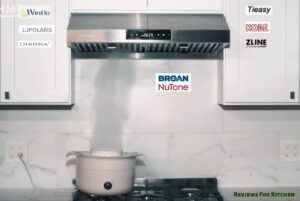
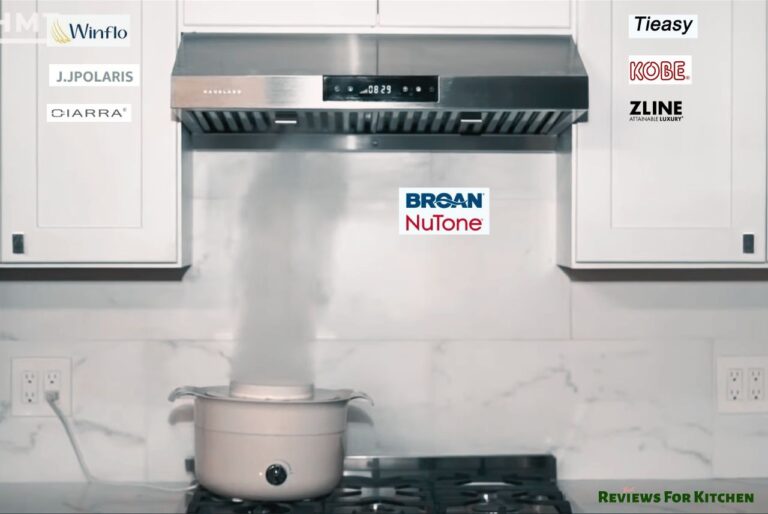
A range hood is basically a powerful fan with an electric motor. When everything is clean and functioning properly, the noise is at an acceptable level (usually around 3-8 sones, depending on the hood). But when something goes wrong, that noise escalates fast.
Here’s the thing: most noise problems are preventable through maintenance. According to The Kitchn, proper hood maintenance—including regular filter cleaning and ductwork inspection—is one of the simplest ways homeowners can extend appliance life and reduce operational noise. I learned this the hard way. If I’d been cleaning my filters regularly, I probably wouldn’t have had that jet-engine problem in the first place.
The key is understanding what’s happening and addressing it. Let’s break down the different types of noise and what they tell you.
Noise Type 1: Rattling and Vibration (The Loose Parts Problem)
A rattling range hood is one of the more annoying sounds. It’s distracting and concerning. But here’s the good news: it’s usually one of the easiest problems to fix.
What Causes Rattling?
Rattling happens when something inside the hood is vibrating against something else. Most commonly:
- Loose mounting brackets (the hood shakes against the cabinet)
- Loose damper flapper (the door at your duct exit)
- Something stuck in the ductwork (a piece of foil tape, debris, etc.)
- Loose filter retainers
- Vibrating fan blade that’s out of balance
How to Fix Rattling
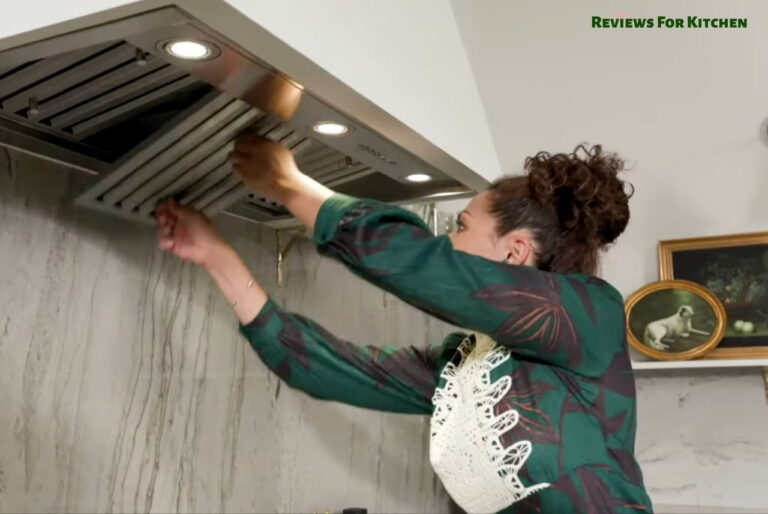
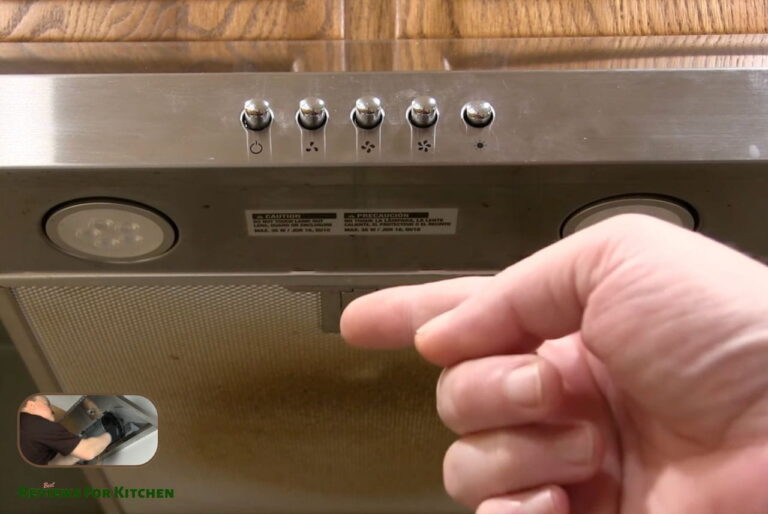
First, check your mounting: With the hood off, manually try to move it side to side. If it shifts at all, your mounting brackets are loose. Tighten the bolts that secure the hood to the cabinetry. You’ll likely need a socket wrench or adjustable wrench. Don’t over-tighten—just snug enough that the hood doesn’t move.
Second, check the damper: If your ductwork is accessible, find the damper at your duct exit (usually where it goes through the roof or wall). Open it fully and listen. Does the rattle stop? If the damper is rattling against its frame, it might need adjustment, cleaning, or replacement. A damaged damper can be replaced for $30-75.
Third, listen from inside the hood: Turn it off and listen carefully. Can you locate where the rattle is coming from? Sometimes it’s debris stuck inside the ductwork. You might be able to dislodge it by gently tapping the outside duct (from the attic or roof) or by removing a section of ductwork temporarily to extract whatever’s stuck.
Fourth, check filter retainers: If your filters have clips or retainers, make sure they’re secure. A loose filter causes vibration and rattle.
Noise Type 2: Whistling (The Airflow Problem)
A whistling hood usually means air is moving through a restricted space. This happens when airflow is compromised somewhere in your system.
What Causes Whistling?
When you hear a whistle, you’re hearing air moving at high speed through a narrow opening. This could be:
- A clogged or dirty filter (air has to squeeze through the grease buildup)
- A blocked or kinked duct
- Ductwork that’s undersized for your hood’s CFM
- A damper that’s only partially open
- Loose duct connections creating gaps
How to Fix Whistling
Start with the filter: Remove and inspect your filter. Is it caked with grease? Clean it thoroughly with hot water and degreaser. A dirty filter creates airflow restriction and whistling. You’d be surprised how often this solves the problem.
Check for blockages: Look at your ductwork (from the attic or roof if accessible). Is anything blocking the duct? Is the damper fully open? Sometimes the damper gets stuck partially closed, creating whistling. Clean it and ensure it moves freely.
Verify duct integrity: Are there any visible kinks or crushing in your ductwork? Bent ducts create turbulence and whistling. If you find a kinked section, you might be able to carefully straighten it. If it’s severely damaged, that section may need replacement.
Inspect duct connections: Loose duct joints create whistling as air escapes. Use a flashlight to look inside each connection. They should be sealed tightly with mastic (that gray sealant) and metal foil tape. If you see gaps, re-seal them.
Noise Type 3: Humming and Buzzing (The Motor Issue)
A persistent hum or buzz usually points to motor-related problems. This is the noise type you’re least likely to fix yourself.
What Causes Humming and Buzzing?
A buzzing or humming range hood could indicate:
- Motor bearings wearing out (normal after many years)
- Fan blade rubbing against the housing
- Electrical issues (a buzz can sometimes indicate loose electrical connections)
- Grease buildup on motor components causing friction
How to Fix Humming and Buzzing
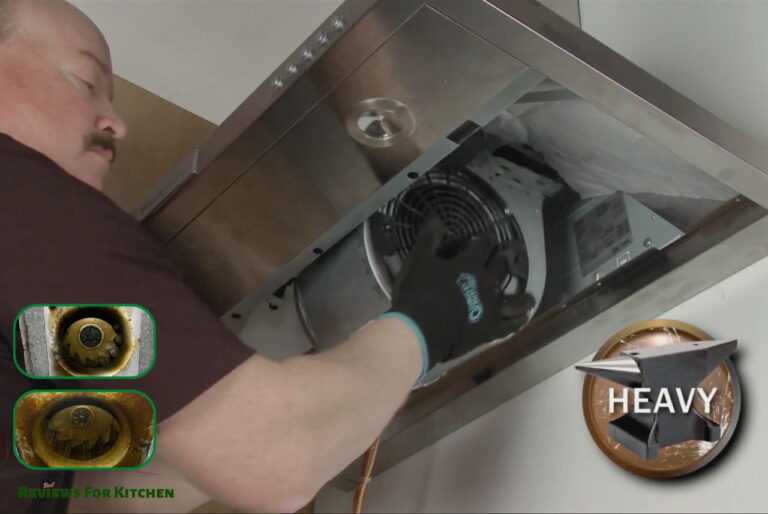
Check for grease buildup: If you can safely access your fan motor (usually you can’t without removing the whole hood), look for grease accumulation. Excessive grease causes friction and buzzing. If you spot it, carefully clean it with a cloth and degreaser. But be cautious—don’t damage electrical connections.
Listen for blade rubbing: Does the buzz change pitch when you adjust fan speed? If there’s a blade rubbing against the housing, the pitch usually varies. This requires professional repair or motor replacement.
Check electrical connections: A buzzing noise sometimes indicates loose electrical connections. Turn off power at the breaker (never work on live electrical), then inspect visible connections. Are wire nuts secure? Are terminals corroded? This is where I’d recommend calling an electrician unless you’re very confident.
Accept motor age: If your hood is 10+ years old and the noise is just increased humming (not sudden changes), the motor might just be getting old. Motors don’t last forever. Eventually, you might need motor replacement ($150-400) or a whole new hood.
Common Maintenance to Reduce Noise Before It Starts
Here’s what I wish I’d known earlier: you can prevent most noise problems through simple maintenance. It’s not complicated—just regular.
Clean Filters Monthly
A clogged filter causes your motor to work harder, which increases noise and reduces efficiency. Monthly filter cleaning (or sooner if you cook a lot) keeps airflow smooth and noise minimal.
Inspect Ductwork Seasonally
Once or twice a year, if you can access your ductwork (from the attic, for example), look for obvious problems. Loose connections? Debris? Damage? Catching these early prevents them from becoming noise problems later.
Check Mount Hardware Semi-Annually
Bolts loosen over time from vibration. A quick tightening twice a year prevents rattling before it starts. This takes 10 minutes and requires only a wrench.
Listen for Changes
You know what your hood normally sounds like. Pay attention to changes. New rattling? Increased humming? That’s your cue to investigate before it gets worse. Early intervention is always easier than fixing major problems.
When to Call a Professional (Know Your Limits)
Let me be honest: some noise problems require professional help. Knowing when to call an HVAC technician or electrician saves you time and prevents damage.
Call a professional if:
- You suspect electrical issues (buzzing from connections, flickering lights)
- You hear grinding or squealing from the motor itself
- You find damaged ductwork you can’t safely access or repair
- The damper is permanently stuck or damaged
- The noise is accompanied by weak suction or other functional problems
If your hood isn’t working properly alongside being loud, it might be a bigger issue. We have guides on fixing range hoods that aren’t venting properly and improving weak suction that can help you diagnose broader problems.
Related Issues That Create Noise (The Bigger Picture)
Sometimes a noisy hood is a symptom of other problems. Understanding the connections helps you address the root cause.
Weak Suction + Noise
If your hood is loud AND not pulling well, you likely have a combination of issues. Clogged filters cause both noise and weak suction. Blocked ductwork does the same. Testing your hood’s suction helps you understand if you’re dealing with a maintenance issue or something more serious.
Noise When Off
Sometimes the noise isn’t from running the hood—it’s from when it’s off. That’s usually the damper. We have a whole guide on range hood noise when off that covers that specific problem.
Light Issues + Noise
Rarely, a failing light fixture can indicate broader electrical issues that also cause motor buzzing. If you’re noticing multiple problems at once, there might be an underlying electrical or mechanical issue worth investigating comprehensively.
Frequently Asked Questions About Noisy Range Hoods
Q: Is it normal for range hoods to be loud?
Some noise is normal. A quiet setting should be around 3-4 sones (very quiet). High speed might reach 7-8 sones (noticeable but acceptable). If your hood is exceeding these levels regularly, something’s wrong.
Q: Can I make my range hood quieter without replacing it?
Often yes. Fix the obvious problems first—clean filters, tighten mounts, inspect ductwork. If it’s still loud after maintenance, you might accept it as normal aging, or consider replacement if the motor is genuinely failing.
Q: Does ductless hood installation reduce noise?
Ductless hoods are sometimes quieter because they don’t have ductwork vibration. But a ductless hood with the same motor as your vented hood will be about the same volume. The noise reduction people notice is often from eliminating ductwork resonance, not the motor itself.
Q: Why did my hood suddenly get louder?
Sudden loudness usually means something changed. Clogged filter? Motor bearing getting worse? Loose mount? Investigate the change. Gradual loudness over years is normal aging. Sudden changes mean something needs attention.
Q: Can I soundproof around my range hood?
Not effectively. The noise source is the hood itself, not the surrounding cabinetry. Soundproofing the cabinet doesn’t silence the source. Better to fix the hood itself.
Q: How much does it cost to repair a noisy range hood?
Depends on the problem. Filter cleaning? Free. Tightening hardware? Free. Damper replacement? $30-75. Motor replacement? $150-400. New hood? $300-2000+. Start with cheap fixes before considering expensive replacements.
The Bottom Line: Don’t Live With Unnecessary Noise
Here’s what I’ve learned: a noisy range hood is usually fixable. You don’t have to accept it as just how things are. Most noise problems come from simple maintenance issues—dirty filters, loose mounts, clogged ducts—that you can address yourself.
Start by identifying what type of noise you’re hearing. That tells you where to look. Then work through the logical solutions. Nine times out of ten, something you do will make a real difference.
If you get stuck or suspect electrical issues, call a professional. But don’t give up on fixing it without trying the basics first. Your kitchen deserves to be a quiet, pleasant place to cook. And honestly, your sanity deserves it too.
Try the troubleshooting steps in this guide and let me know which one solved your problem. I love hearing what actually works for people in real kitchens, and it helps me keep giving you practical, tested advice.