You know when you are cooking something like a stir-fry or a steak and your kitchen gets all smoky and greasy. It is really annoying. A vented range hood is really great for keeping your kitchen clean and fresh.. Sometimes it can seem like a big deal to install one of these things. The good thing is that if you have the tools and you are patient you can do it yourself. Just keep in mind that the steps to install a vented range hood might be a little different depending on the kind of range hood you have.
Do not worry I am here to help you. I have installed a vented range hoods and I learned a lot from doing it. In this guide we will go over everything you need to know about installing a vented range hood. If you are good at doing things yourself or if you are just starting out I will help you. Let us get started with vented range hood installation. Whether you have a lot of experience with vented range hood installation or you are new, to it I will guide you through it. We will talk about vented range hood installation and how to make it easy.
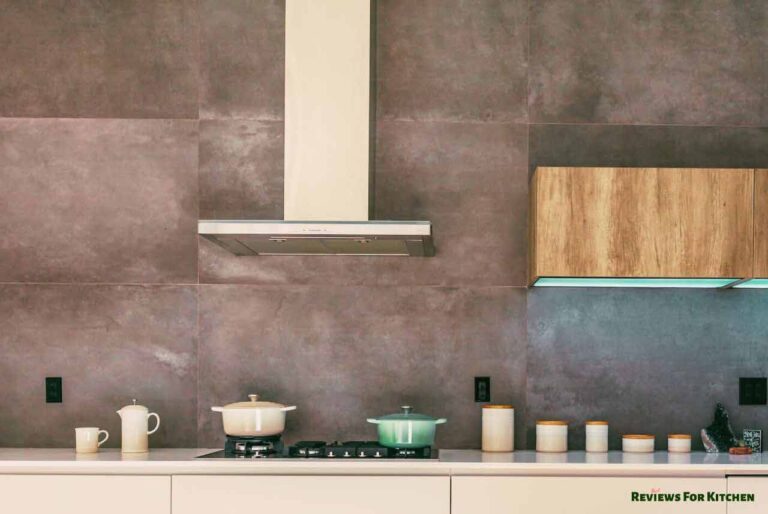
What’s a Vented Range Hood and Why Do You Need One?
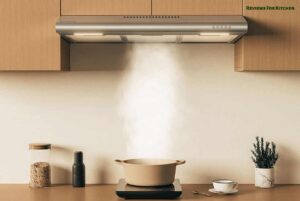
Before we get into the details of installation lets talk about why a vented range hood’s really important. You know how strong smells from cooking can stick around like when you cook fish, onions or bacon.
A range hood helps get rid of smoke, grease and smells by sending them This keeps your kitchen smelling fresh. Your air clean.
It also stops grease from building up on your walls and cabinets which’s a big plus.
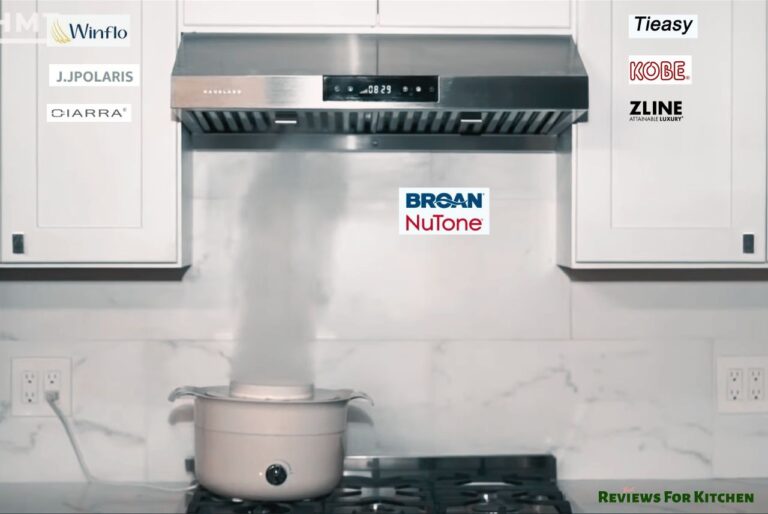
Vented range hoods work better than recirculating models. Recirculating models just filter the air. Send it back into your kitchen. If you do a lot of cooking like frying or grilling a vented range hood is what you need. A vented range hood is the choice, for a serious cooking setup. It helps keep your kitchen clean and fresh. Thats really important.
How to Install a Vented Range Hood: A Step-by-Step Guide
Now lets get into how to install it. It might sound hard. Its actually easy once you understand it. I will go through each step, with you. I will also give you some tips to make it simpler.
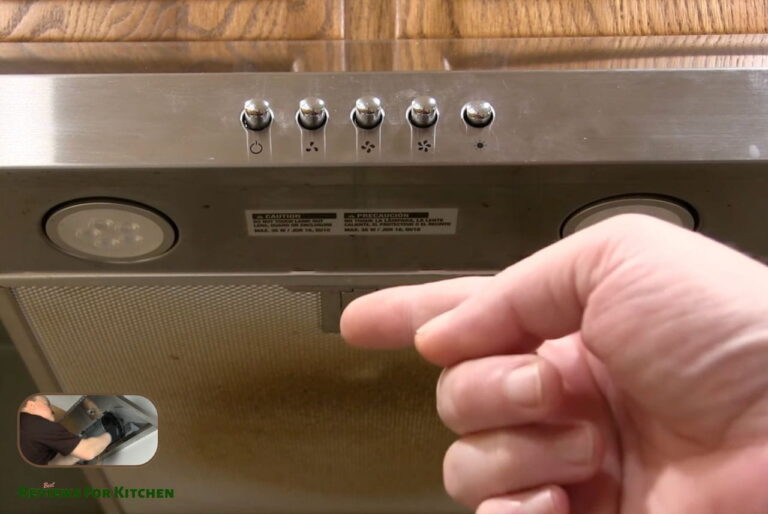
Step 1: Choose the Right Spot for Your Range Hood
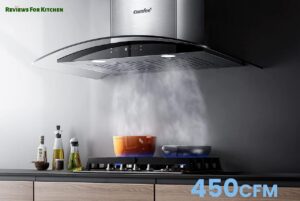
The first thing you need to do is pick a spot for your range hood. You want your range hood positioned above your stove. It should be between 24 to 30 inches from the cooking surface of your stove. This way your range hood will catch all the smoke and steam from your stove without getting in your way.
Here is a tip: make sure there is space, between your range hood and any cabinets or the ceiling. This space is important for the air to flow properly around your range hood.
Step 2: Gather the Tools You’ll Need
Before you start, make sure you’ve got the right tools on hand. Here’s a quick list of the basics:
- Power drill
- Screwdriver
- Measuring tape
- Stud finder (to ensure you’re drilling into solid wood)
- Pencil (for marking the spots)
- Level (to make sure your hood is straight)
- Drywall saw (if you need to cut through drywall)
Personal tip: I like to lay out all my things on the counter before I start working on something. This way I do not have to look for my tools when I am, in the middle of what I am doing. I think it is an idea to have everything ready to go with my tools and my other things. This makes it easier for me to work on my project with my tools.
Step 3: Mark the Location and Install the Mounting Bracket
When you have decided where you want to put the range hood it is time to make marks for the holes. You should use your measuring tape to make sure the range hood is in the middle, above your stove. Next you need to mark the places where the range hood mounting bracket will go on the wall. The range hood mounting bracket needs to be attached to the wall so you should use a stud finder to find the parts of the wall. This way you can drill into something that will hold the range hood.
Pro Tip: You should use a level to make sure your marks are straight and even. I am telling you you do not want your range hood to be hanging sideways. The range hood needs to be straight. The level will help you with that.
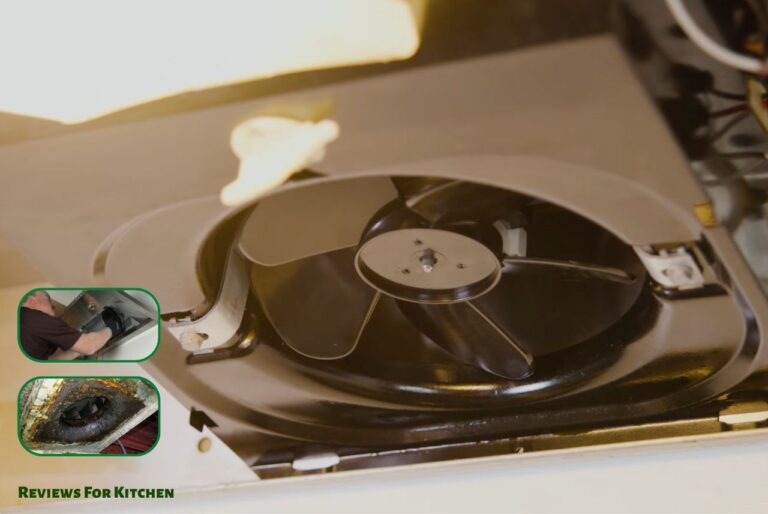
Step 4: Install Ductwork
You need to install ductwork if you are venting your range hood outside. This is a bit tricky so take your time.
- Measure how long your ductwork needs to be based on where your range hood’s where the nearest exterior wall or roof vent is.
- Use a drywall saw to cut a hole in the wall or ceiling for the ductwork.
- Attach the ducting to your range hood. Make sure it is securely connected to the exterior vent.
Pro Tip: Some kitchens already have ductwork. If thats the case you can skip this step.
Step 5: Secure the Range Hood to the Wall
Now it’s time to install the range hood. With the mounting bracket in place lift the hood into position. Screw it into the wall. Make sure the range hood is level then tighten the screws. You might need a friend to help hold it in place while you drill.
I always double-check the screws to make sure everything is stable. The last thing you want is your range hood falling down.
Step 6: Connect the Power
This part involves work. If you’re not comfortable with it hire an electrician.
- Turn off the power at the circuit breaker.
- Wire the range hood to the box.
- Connect the wiring from the range hood to the power source. Follow the manufacturers instructions.
- Once everything is connected turn the power back on. Test the range hood.
Pro Tip: If you’re not sure, about wiring get a professional. It’s always better to be safe.
Common Mistakes to Avoid When Installing a Vented Range Hood
Even though putting in a range hood is easy there are some mistakes to watch out for. Here’s what to avoid:
- Not measuring right: I have had to adjust times because I did not measure correctly. Make sure you double-check your spacing.
- Not installing ductwork right: You need to vent. If you just circulate the air your hood will not work well.
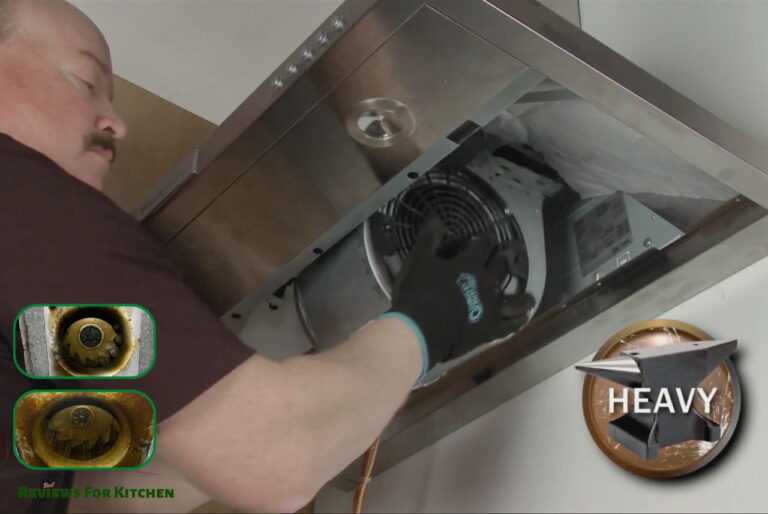
- Forgetting how heavy the hood is: Some range hoods are heavy. Use screws and brackets to secure them. You do not want them to fall off.
- Making electrical connections: If you are not good, with electrical work get a professional. It is not worth the risk.
Pro Tips for Vented Range Hood Installation
- Make sure the ductwork is short and straight. This helps airflow. The fewer turns, the better.
- Consider your size. It should cover your stove fully. A 30-inch hood works well for standard stoves. If you have a bigger range you may need a larger hood.
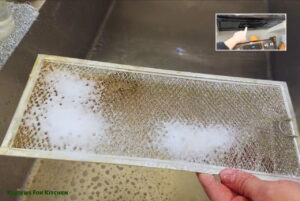
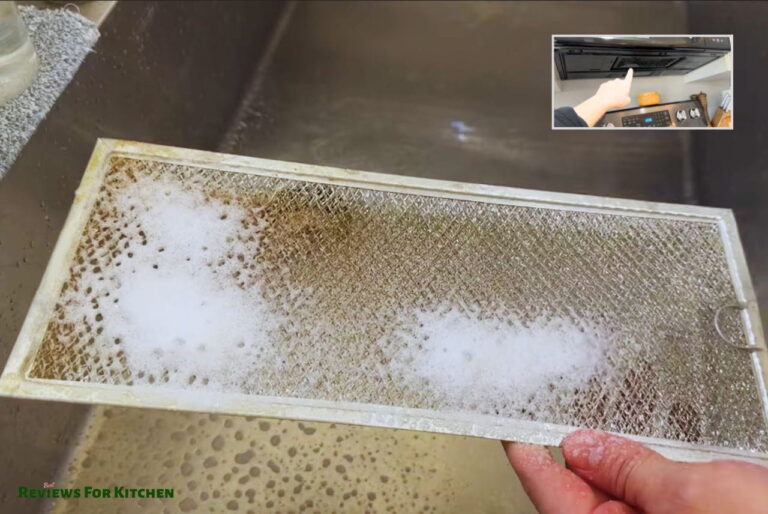
- Clean the filter often. This keeps your range hood working. I clean mine every month to keep things fresh.
Here are the Best 5 Vented Range Hoods for Your Healthy Kitchen Environment
FAQ: Vented Range Hood Installation
Q: Can I install a vented range hood myself?
A: Yes, but it requires some basic electrical and carpentry skills. If you’re comfortable with drilling, wiring, and cutting drywall, you can do it! If not, it’s always a good idea to hire a professional.
Q: Do I need ductwork for a vented range hood?
A: Yes! Vented range hoods work best when they vent directly outside. If your kitchen doesn’t have ductwork, you’ll need to install it.
Q: How high should my range hood be installed above the stove?
A: Ideally, your range hood should be between 24 to 30 inches above the cooking surface. This height ensures effective ventilation without being in your way.
Q: How often should I clean my range hood filter?
A: I recommend cleaning your filter once a month. A dirty filter can reduce the hood’s efficiency, so regular cleaning is key to keeping it working well.
Conclusion: You’ve Got This!
Installing a vented range hood can be a job but it is really something you can do. You just need to have the things to help you and be willing to take your time. When you get it put in you will be able to cook without all the smoke and bad smells in your kitchen.
You should try to do it. Then tell me about it. If you do not feel like you can do it you can always call someone who’s good at this kind of thing.. You should not be scared to try it by yourself.. If you want some more ideas on how to make your kitchen a better place to cook you can look at my guide to making your kitchen more organized, for cooking that is not stressful.
Quick Summary:
- Choose the right spot above your stove, between 24 to 30 inches high.
- Install ductwork to vent outside for maximum efficiency.
- Secure the range hood with a sturdy mounting bracket and screws.
- Connect the power (hire an electrician if needed).
- Clean the filter regularly for optimal performance.