
You fire up the stove, start searing some garlic and onions, and within five minutes the smoke alarm goes off — even though your range hood is running. Or maybe it’s not smoke setting it off, but the kitchen just fills with a haze of cooking fumes no matter how long you run the fan. You wave your hand under the hood and feel… almost nothing. That fan is spinning but it’s barely doing a thing.
That was my kitchen about two years ago, and I had no idea where to start. Turns out, knowing how to fix a range hood that’s not venting properly is one of those home maintenance skills that sounds intimidating but is almost always manageable without calling a technician — once you understand what’s actually going wrong.
In most cases, a range hood that stops venting well has one of a handful of fixable causes: a clogged grease filter, a blocked or crushed duct, a stuck damper, or a fan motor that’s struggling. This guide walks you through all of them — how to diagnose the real problem, how to fix it yourself, and when it’s actually worth calling in a pro.
Let’s figure out what’s going on with your hood.
Quick Takeaways Before You Start
- The most common cause of poor venting is a clogged grease filter — check this first, it takes two minutes
- A stuck or frozen damper is the second most common cause, especially in older hoods and cold climates
- Recirculating (ductless) hoods cannot be “fixed” to vent better — they have a hard limit by design
- Duct length, bends, and diameter all affect suction — a technically working hood can still vent poorly due to bad ductwork
- Most fixes cost nothing or under $30 and take under an hour
- Always unplug or shut off power at the breaker before opening up the hood for internal inspection
Understanding Why Your Range Hood Isn’t Venting (Start Here)
Before you start pulling things apart, it helps to understand how a range hood actually works — because the fix almost always depends on which part of the system has failed.
How a Vented Range Hood Works
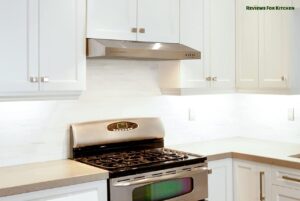
A ducted range hood pulls air from above your cooking surface using a fan (blower), pushes it through a grease filter that catches grease particles, then forces the remaining air through a duct that exits through an exterior wall, the roof, or a soffit. The whole system is basically a one-way air pathway — air in at the bottom, contaminated air out at the top and outside.
There’s also a damper — a small flap or set of flaps — inside the duct near where it exits the hood or exits the building. The damper stays closed when the hood is off (to prevent outside air from drafting back in) and opens when the fan runs. If any part of this pathway gets restricted or blocked, your suction drops fast.
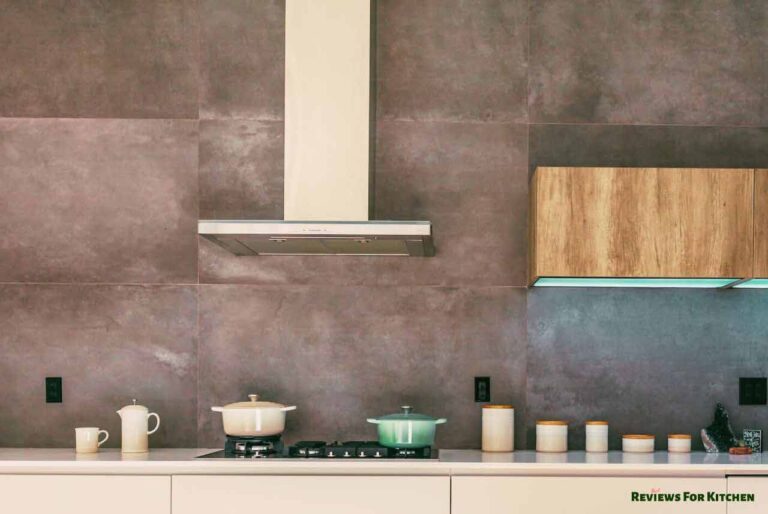
Ducted vs. Ductless: Which Do You Have?
This distinction matters more than most people realize. Ducted hoods (also called vented hoods) actually move air outside. Ductless or recirculating hoods pull air through charcoal filters and push it back into the kitchen — they don’t vent outside at all.
If you have a ductless hood, “poor venting” means either the charcoal filters are saturated and need replacing, or the fan isn’t moving enough air. There’s no ductwork to diagnose. If you have a ducted hood and it’s not moving air effectively, the problem is almost certainly somewhere in the filter, damper, or duct system — and that’s what most of this guide covers.
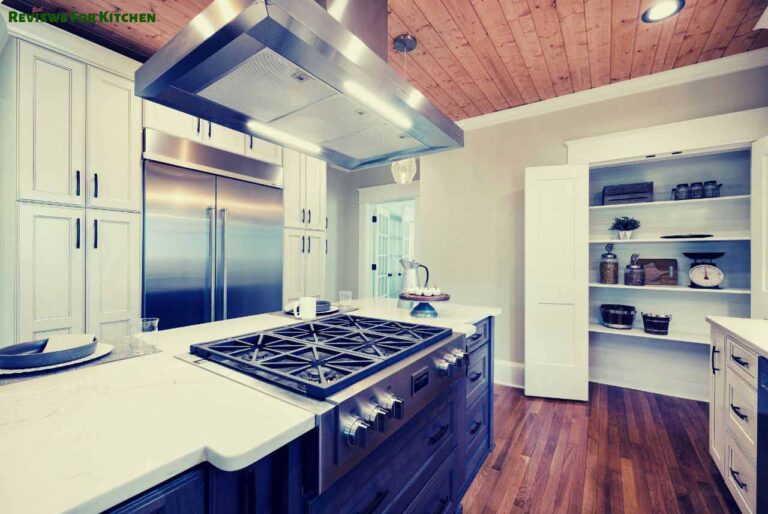
Not sure which type you have? Look for a duct (usually a round or rectangular metal tube, 6-8 inches in diameter) running from the top of your hood up into the ceiling or out through a wall. No duct = ductless recirculating hood.
The Most Common Culprits at a Glance
| Problem | Symptoms | DIY Fix? |
|---|---|---|
| Clogged grease filter | Weak suction, greasy smell even when on | Yes — clean or replace |
| Stuck or frozen damper | Very weak suction, backdraft when off | Yes — clean or adjust |
| Blocked exterior duct cap | Sudden loss of suction, especially in winter | Yes — inspect and clear |
| Crushed or kinked ductwork | Gradual suction loss, unusual noise | Sometimes — depends on access |
| Undersized duct diameter | Always had weak suction, never worked great | Requires duct upgrade |
| Failing fan motor | Fan running but barely moving air, unusual hum | Motor replacement or pro help |
Step-by-Step: How to Diagnose the Real Problem First
The biggest mistake people make is jumping straight to fixes without confirming the diagnosis. Spend 10 minutes working through this sequence and you’ll know exactly what you’re dealing with.
Step 1: Do the Paper Test
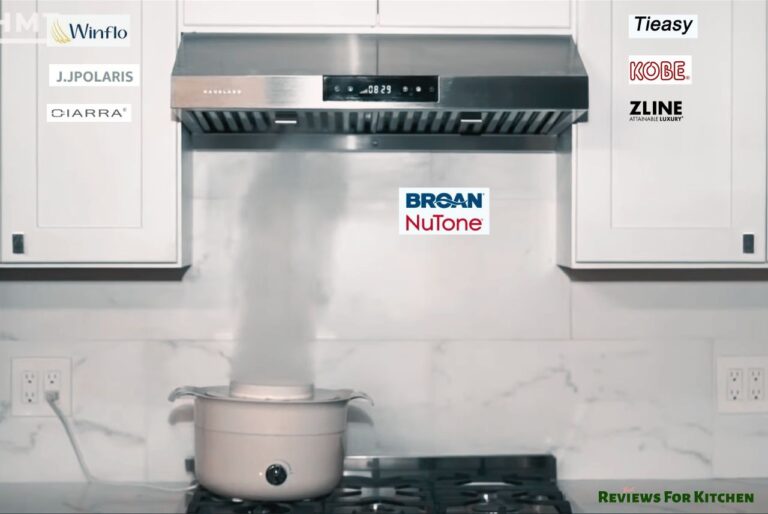
Turn your hood on high. Hold a single sheet of paper towel under the filter area and let go. On a properly working ducted hood, it should stick flat against the filter with no hand support. If it falls, flutters weakly, or you have to hold it, you have a suction problem worth investigating.
For a more precise measurement, our guide on how to test range hood suction with methods and quick checks walks through several techniques including the paper test, smoke test, and using an anemometer for anyone who wants to get specific CFM numbers.
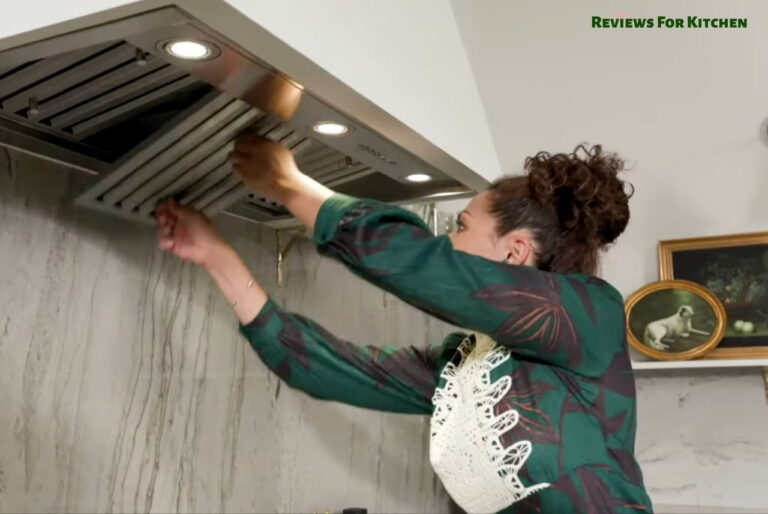
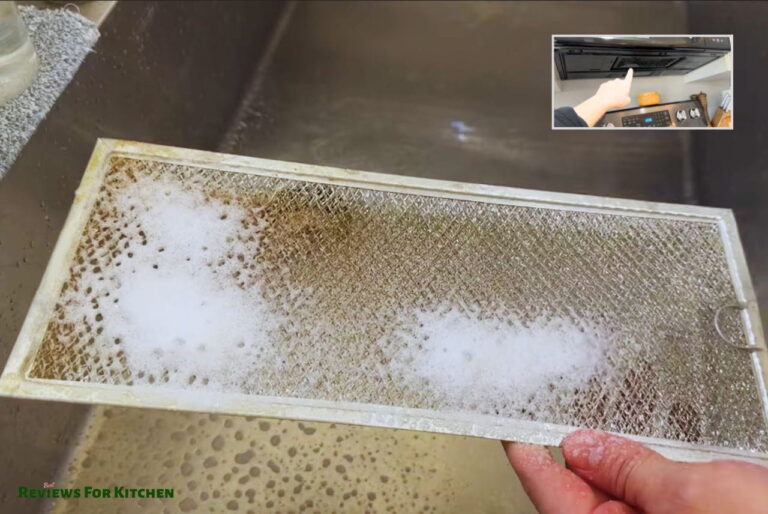
Step 2: Check the Grease Filters
Pull out your grease filters — they usually slide or clip out easily without any tools. Hold them up to a light. Can you see light clearly through the mesh? If the mesh looks dark, gunked, or the openings are visibly clogged with grease, that’s almost certainly your problem. Heavily clogged filters can reduce airflow by 50% or more.
Clean them in hot soapy water or run them through the dishwasher (most aluminum mesh filters are dishwasher-safe — check your manual). Let them dry fully before reinstalling. Then repeat the paper test. If suction improved dramatically, you found your problem.
Step 3: Locate and Check the Damper
The damper is usually a spring-loaded flap inside the duct, either at the top of the hood where it connects to the ductwork or at the exterior duct cap where air exits the building. With the hood off, look up into the duct opening (use a flashlight). You should see a flat flap. Push it gently with a finger — it should move freely and spring back. If it’s stuck, won’t open, or is coated in thick grease, it’s restricting airflow even when the fan runs.
Step 4: Inspect the Exterior Duct Cap
Go outside and find where your range hood duct exits the building — usually on an exterior wall or through the roof via a cap or louver. Look for blockages: bird nests, wasp nests (more common than you’d think in summer), ice buildup (a real issue in Canadian winters and northern U.S. states), or a damper flap that’s stuck closed from the outside. A blocked exterior cap completely kills suction, and it’s often the last place people think to look.
Step 5: Check for Duct Damage or Kinks
If you have accessible ductwork in a cabinet above the hood, peek inside with a flashlight. Flexible duct — the accordion-style silver tubing sometimes used in range hood installations — is especially prone to kinking, crushing, or collapsing over time. A severely kinked flex duct can restrict airflow almost as badly as a full blockage. Rigid metal duct (round or rectangular sheet metal sections) is much better for range hoods and far less prone to this problem.
How to Fix the Most Common Range Hood Venting Problems
Alright — you’ve diagnosed the issue. Now let’s fix it. I’ll walk through each common problem with specific steps.
Fix 1: Clean or Replace Clogged Grease Filters
For aluminum mesh filters:
- Remove filters and soak in a sink of very hot water with a few squirts of dish soap and 1/4 cup of baking soda for 15-30 minutes
- Scrub with a soft brush — an old toothbrush works well for getting into the mesh
- Rinse thoroughly under hot running water
- Let dry completely (or pat dry) before reinstalling
- Alternatively, run them through the dishwasher on a high-heat cycle
How often should you do this? For everyday cooking, once a month is ideal. Heavy cooks (daily high-heat cooking, frying regularly) might need it every 2-3 weeks. If you can’t remember the last time you cleaned your filters, there’s a good chance they’re significantly restricting your airflow right now.
For charcoal filters on ductless hoods: these can’t be cleaned — they need replacement. Most charcoal filters need replacing every 3-6 months with regular use. Your hood’s manual will have the specific part number.
Fix 2: Free a Stuck or Greasy Damper
If your damper is stuck closed or only partially opening, here’s how to address it:
- Turn off power to the hood at the breaker
- Access the damper — either through the filter opening looking up, or by removing the hood’s top panel if accessible
- Wipe the damper blades and pivot points with a degreaser (Simple Green or similar works well) on a rag
- Work the flap back and forth gently by hand until it moves freely
- Check the spring tension — the spring should hold the damper closed at rest but allow it to open with gentle pressure
- If the spring is broken or missing, replacement dampers are inexpensive (usually $10-25) and often available at home improvement stores
For the exterior damper cap specifically: if it’s iced over or has debris buildup, clear it from outside. A stuck exterior damper flap means air has nowhere to go — the fan works but essentially pushes against a closed door.
Fix 3: Replace or Reroute Kinked Flex Duct
Let me be real with you: if your hood was installed with flexible duct and it’s severely kinked or crushed, the best fix is replacing it with rigid metal duct. Flex duct is easier to install but inherently less efficient for range hoods because of its corrugated interior surface (which creates more air resistance) and its tendency to kink over time.
If a full duct replacement isn’t in the cards right now, you can at least:
- Straighten the flex duct as much as possible and support it so it won’t re-kink (use wire hangers or duct straps)
- Make sure it isn’t compressed by cabinet shelving or other items resting on it
- Keep bends as gradual as possible — a sharp 90-degree bend in flex duct can reduce airflow by 20-30%
Fix 4: Clear a Blocked Exterior Duct Cap
- From outside, remove any visible debris (leaves, nests, ice) from around the cap
- Check that the damper flap inside the cap opens freely — push it gently and confirm it springs back
- If the cap is corroded, warped, or the damper is broken, replace the whole cap (they cost $10-20 at any home improvement store)
- While you’re out there, make sure the cap is properly sealed to the exterior wall — gaps let cold air in and can cause backdraft issues that make the damper behave erratically
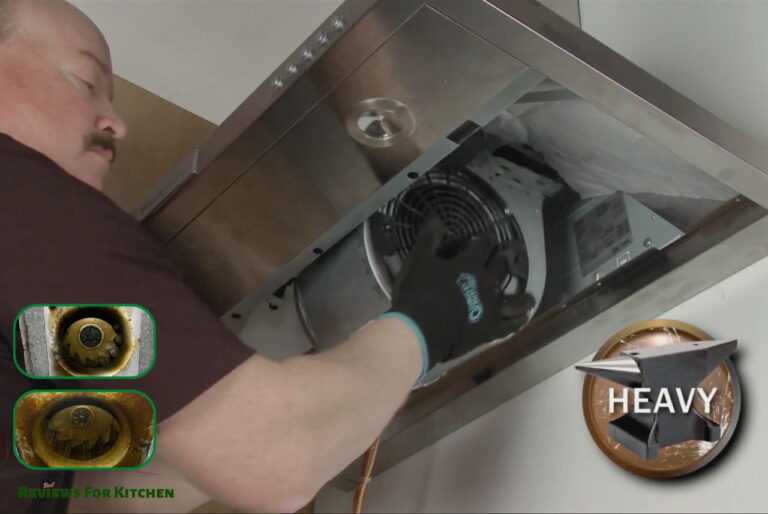
Fix 5: When It’s the Fan Motor
If you’ve checked filters, damper, and ductwork and still have poor suction, the fan blower itself may be the issue. Signs of a failing motor include: the fan running much more quietly than it used to, excessive vibration, or a burning smell when it runs.
First, check whether the blower wheel (the fan itself) has grease buildup — a heavily coated blower wheel loses efficiency fast. With power off, access the blower (usually behind a panel inside the hood) and clean the blades with a degreaser and a brush.
If cleaning doesn’t help and the motor is genuinely failing, replacement motors are available for most major brand hoods and typically run $40-120. It’s a moderate DIY project — but if you’re not comfortable with appliance electrical work, this is a reasonable point to call a technician. If your range hood is also making unusual noises when it runs, that’s a related symptom worth investigating — our post on fixing a range hood making noise when off covers how to diagnose sounds that indicate specific mechanical problems.
Why Your Range Hood Might Never Have Worked Well: Ductwork Problems
Here’s something that surprises a lot of people: sometimes a range hood isn’t broken at all — it’s just been poorly installed from day one, and the ductwork was never adequate to support proper ventilation. I’ve seen this in several houses I’ve lived in and visited, and it’s frustrating because the hood itself is fine — the problem is everything around it.
Duct Diameter: This Is Huge
Most residential range hoods require at least a 6-inch round duct (or equivalent rectangular duct) to perform properly. Higher-CFM hoods often need 7 or 8 inches. Plenty of homes have range hoods connected to 4-inch dryer-style ducts — which is drastically undersized and creates so much airflow restriction that even a powerful fan can barely move air through it.
If your duct is undersized, suction will always be poor regardless of how well the hood is functioning. The only real fix is upgrading the ductwork — which may involve cutting through cabinets or walls depending on your home’s layout. It’s worth getting an HVAC technician’s assessment if you suspect this is the issue.
Duct Length and Number of Bends
Every foot of duct run and every bend in the ductwork reduces the effective airflow your hood can move. Industry guidelines generally recommend no more than about 30-40 equivalent feet of total duct run, where each 90-degree elbow counts as roughly 10 equivalent feet of straight duct. A hood that has to push air through a 25-foot run with three 90-degree turns and a flex duct kink in the middle is going to struggle badly, even with a powerful blower.
If you’re dealing with a long or complicated duct run and want to improve performance without a full duct overhaul, our post on how to increase suction power in your range hood covers practical upgrades including upgrading to a higher-CFM blower and optimizing the duct path.
Make-Up Air: The Problem Nobody Talks About
Here’s an issue that’s becoming more common in newer, tightly sealed homes. When a powerful range hood runs, it exhausts a lot of air from the house. That air has to be replaced from somewhere — and in a well-sealed home, it can create negative pressure that actually makes the hood work against itself. Doors become hard to open, combustion appliances can backdraft, and suction can drop significantly.
According to The Kitchn’s guide on range hood ventilation, homes with high-CFM hoods (above 400 CFM) in tight construction often need a make-up air system — a controlled fresh air intake — to compensate. If your hood works fine on low but seems to lose effectiveness on high, negative pressure could be a factor.
Maintenance Habits That Prevent Venting Problems Before They Start
I used to think range hoods were pretty much maintenance-free. Turn it on when you cook, turn it off when you’re done. That was it. Then I learned that a little regular attention prevents almost all of the common venting problems — and keeps the hood working at full capacity for years longer.
Monthly Filter Cleaning
Set a reminder. Seriously. A monthly filter clean takes about 15 minutes and prevents the single most common cause of poor range hood performance. If you do a lot of high-heat cooking or deep frying, bump that up to every 2-3 weeks. The grease that saturates filters doesn’t just reduce airflow — it’s also a fire hazard if enough accumulates over time.
Seasonal Damper Check
Twice a year — spring and fall — take 5 minutes to confirm your damper moves freely. In winter, exterior dampers can ice over or seize. In summer, bugs and wasps love to build nests in the warm, sheltered environment of an exhaust cap. A quick outside inspection each season catches these problems before they kill your airflow. If your damper seems to be closing or opening on its own at odd times, our article on range hood damper not closing and causing drafts covers the diagnosis and fix in detail.
Annual Full Hood Cleaning
Once a year, go beyond the filters. Wipe down the interior of the hood body, check the blower wheel for grease buildup, and inspect the visible portion of your ductwork for any issues. It’s also a good time to check that all duct connections are still sealed — duct tape and mastic sealant can fail over time, especially with thermal expansion and contraction cycles through the seasons.
Pay Attention to Changes in Performance
If your hood suddenly seems weaker than it used to be, don’t ignore it. A gradual decline usually means a clog building up somewhere. A sudden drop in suction — especially in winter — often means a blocked or frozen exterior cap. Acting fast on these changes is much easier than dealing with a hood that’s been struggling for months. If your range hood fan is running but suction has disappeared almost entirely, our future guide on range hood fan runs but no suction: troubleshooting guide will walk through the specific diagnostic path for that situation.
Frequently Asked Questions
Why does my range hood run but not remove smoke?
The most likely culprits are a severely clogged grease filter, a stuck damper that won’t open fully, or a blocked exterior duct cap. Start by checking and cleaning the filters — that alone fixes the problem in the majority of cases. If suction is still poor after a filter cleaning, work through the damper and ductwork checks next.
How do I know if my range hood damper is stuck?
With the hood off, shine a flashlight up into the duct opening and locate the damper flap. Push it gently with your finger — it should open freely and spring back when you release it. If it’s stiff, won’t budge, or stays open on its own, the damper needs cleaning or replacement. A stuck-closed damper is especially common in older hoods and cold climates.
Can I fix poor range hood suction by increasing the fan speed?
Not if the problem is a physical restriction like a clogged filter or blocked duct. Running the fan on high against a clog just strains the motor without improving airflow. Fix the restriction first, then you’ll get the full benefit of the higher fan speed. If your hood has always felt weak even on high, the issue may be undersized ductwork rather than a clog.
How often should I clean my range hood filters?
For average home cooking, once a month is the standard recommendation. If you cook daily or do a lot of high-heat frying, every 2-3 weeks is better. Charcoal filters on ductless hoods can’t be cleaned — they need full replacement every 3-6 months. Most aluminum mesh filters are dishwasher-safe, which makes the monthly clean much less of a chore.
My range hood light works but the fan has no suction — what’s wrong?
If the light works, power is reaching the hood. The problem is mechanical — either the blower motor has failed, the blower wheel is jammed with grease buildup, or there’s a severe duct blockage. Check the blower wheel for heavy grease accumulation first (clean it with degreaser), then inspect the ductwork. Our dedicated post on range hood light not working issues also covers related electrical checks if you find other symptoms.
When should I call a professional for a range hood venting problem?
Call a pro if: the ductwork runs through areas you can’t safely access; you suspect a failed motor but aren’t comfortable with appliance electrical work; your home needs a make-up air system installed; or the duct diameter needs upgrading, which may require cutting through walls or cabinets. Most filter, damper, and accessible duct issues are genuinely DIY-friendly.
A Well-Venting Range Hood Makes the Whole Kitchen Better
Nine times out of ten, a range hood that’s not venting properly has a fixable cause that doesn’t require a service call — just a bit of methodical troubleshooting and some basic cleaning. Start with the grease filter, check the damper, inspect the exterior cap, and work inward from there. You’ll find the problem faster than you think.
The real secret is staying ahead of it. Monthly filter cleaning and a twice-yearly damper check will prevent the vast majority of venting issues before they ever become a problem. Your hood will work better, last longer, and your kitchen will smell dramatically less like last night’s dinner.
Give the diagnostic steps in this guide a try and see how much of a difference a clean filter and a freed-up damper makes — most people are genuinely surprised. And if you run into specific symptoms along the way, our posts on increasing range hood suction power and fixing a noisy range hood cover those situations in detail.
Have a range hood issue that this guide didn’t quite cover? Drop it in the comments — I’d genuinely love to help you figure it out.