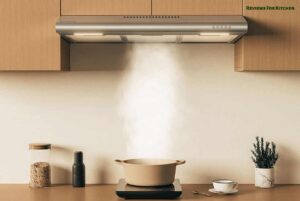
Imagine, Your vented kitchen range hood arrived at your home last night. You kept the tall range hood in the kitchen besides the cooktop. This morning, you grill four large shrimps in a sizzling pan. A cloud of aromatic spices covers your kitchen. And your inner self is yelling at you; today, you must install the hood to ensure a healthy kitchen environment. But, you are thinking… How to vent a range hood through a roof?
Don’t fret; these step-by-step instructions will be your trusty sidekick. So you can handle the job, whether you’re a novice or a seasoned DIY champion. You can flawlessly vent your hood through the roof after reading this post.
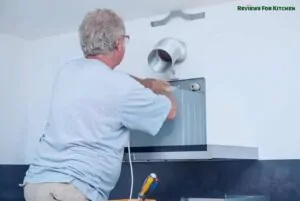
How To Vent A Range Hood Through A Roof
Venting a range hood through your kitchen roof is simple if you can perform like a true DIY warrior. You just have to use some power tools and follow 10 easy steps. That’s all.
Before that, here’s a list of some required tools to do the job, time and skillset.
Tools You’ll Need
- Safety gear (hand gloves, goggles, and a sturdy hat) to ensure safety deal
- Measuring tape to measure the right place and shape to install the hood
- Ladder to reach the roof
- Reciprocating saw to cut duct hole through the roof
- Metal flashing to vent smoke air
- Roofing sealant to ensure airtight sealing
- Power drill machine to drill holes
- Screwdriver and screws to secure the hood with the roof
Estimated Time Requirements
- It takes around 45 minutes to 3 hours. It depends on your DIY experience and the installation complexity.
Required skills:
- Basic DIY skills as comfortable or used to using power tools
- Familiar with working on roofs
- No record of acrophobia
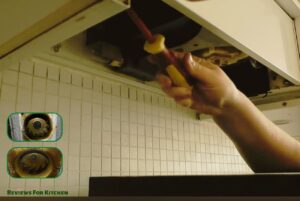
Step 1: Preparation
Before jumping to the main task of installing the range hood, you should make some preparation. Such as
- Arrange all the required DIY tools and keep them aside. So that you’ll get them whenever you need them; it’d be better if your partner provides you with all those tools when you ask.
- Safety is a must; wear goggles, hand gloves and a hat.
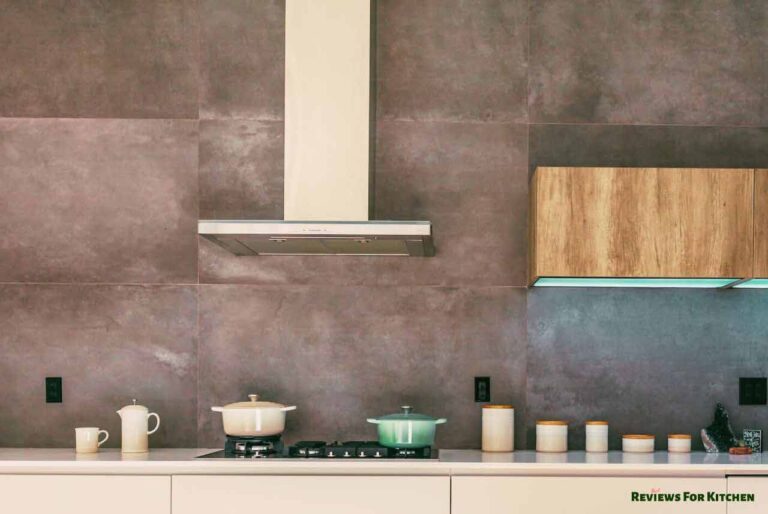
Step 2: Assess The Location
Choose a perfect hood installation spot according to your main heat source. The more accurately you can align the hood and cooking area, the hood can offer better air ventilation and suction power.
- While choosing the hood installation location, ensure enough space for venting pipe accommodation.
- Also, check your kitchen layout and design to maintain its decoration.
Step 3: Measure Twice, Cut Once
This time you have to measure the venting pipe diameter. As you should mark the roof based on the venting pipe size. Most hoods come with a 6-inch diameter venting pipe. But, still, you have to measure it properly.
- Take a measuring tape and place it over the range hood venting pipe.
- Note down the number.
- The second time measures the pipe and matches it with the first time noted number.
- It’ll ensure accurate measurements.
Step 4: Get On The Roof
You have to get on the roof to mark the spot for ductwork according to the venting pipe diameter.
- Set a ladder or step stool to climb on it and reach the roof.
- Before ascending, double-check its stable and secure positioning to avoid falling.
- Now, climb the ladder and stand on a stair, adjusting your roof height.
Step 5: Ready, Set, Cut
It’s time to cut the hole that you marked. So, ask for the reciprocating saw from your partner.
- Comfortably stand on the ladder.
- Tightly grab the saw.
- Start using the saw in a gentle motion from one side of the marked area to another.
- Keep your tool in control while cutting the duct hole on the roof to avoid misleading hole cuts, as it’ll be a complete catastrophe for your hood installation.
Step 6: Seal The Deal
A pesky leak between the venting pipe and the roof connection can reduce the effectiveness of your hood’s ventilation system. So, no leak is allowable.
- Apply a thin layer of roofing sealant/caulk to all the edges of the newly cut hole.
- So, if there are any leaks, the sealant will fix them.
- After that, allow 5-10 minutes to cure the sealant fully.
Step 7: Flashing Magic
When the sealant is cured, you have to install/attach a metal flashing around your duct hole. It works as a barrier against rainwater and offers your range hood venting installation a polished finish. However, it’s not a good idea to use plastic flashing because you have to replace it quickly.
- Properly place the metal flashing around the hole.
- Then, set it with the screws using a screwdriver.
- If screws aren’t available, you can use nails.
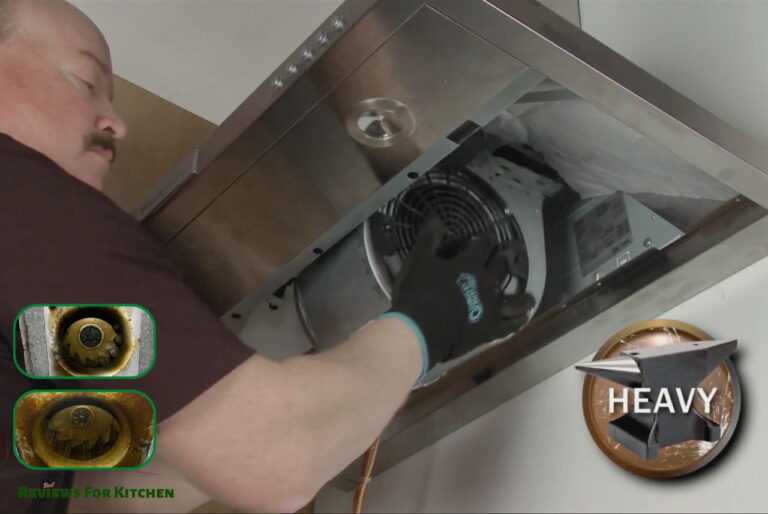
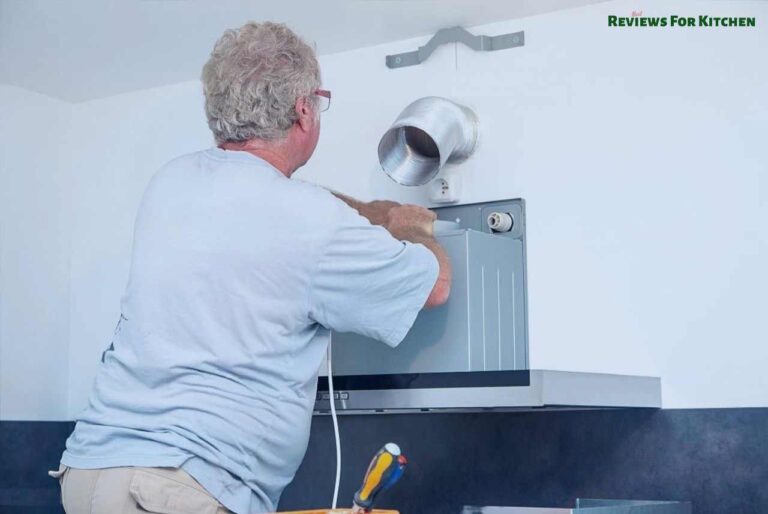
Step 8: Down To The Hood
Your roof works are complete for the first time. You should prepare the range hood to install it in the kitchen.
- Go to your kitchen after getting down from the roof using the ladder.
- Grab the hood’s venting pipe and connect it to the roof duct hole.
- Ask your partner to hold it in place to free up your hands.
- Now, secure the hood with screws or clamps.
Step 9: Channel The Air
It’s the last step to vent the range hood through the roof. Because the polluted air will vent outside with the pipe and offer you a fresh-smelling and well-ventilated cooking experience.
- Again, climb the ladder and reach the roof.
- Attach the other end of the venting pipe with the hole ensuring the right alignment and snug fitting.
Step 10: Double-check & Celebrate
Before getting down from the roof, you should double-check the entire installation. If there’s any drawback in the installation process, you can cover it up. For a thorough inspection
- Check the connection between the vent pipe and duct hole for any leakage, spot, or gap.
- If everything is ok, come down from the roof.
- Create a smoky atmosphere in the kitchen to test the range hood suctionor ventilation system.
- Start your range hood and observe the ventilation power.
- If you are satisfied with the hood’s performance.
- Congratulations, you deserve a pat on your shoulder to successfully complete the job.
Safety Considerations & Tips For Venting a Range Hood Through a Roof
Knowing some valuable and practical tips and following them while doing DIY jobs make your life easier. So, here are some tips that you should follow to efficiently vent the hood through the roof.
- You must trust the manual magic. Read the manual twice to embrace the wisdom of the manufacturer’s instructions.
- If you have acrophobia or are uncomfortable using a ladder or power tools. It’s better to hire a professional for the job.
- Ensure the ladder’s top-notch stability before climbing because a wobbly ladder can turn your DIY dreams into a clumsy disaster in a second.
FAQs
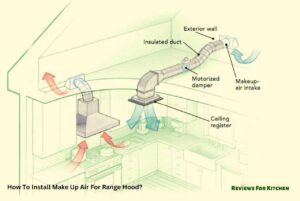
Can I vent my range hood through a side wall instead of the roof?
Yes, You can vent your range hood through a side wall instead of the roof. As it’s an alternative option, while roof venting isn’t preferred or feasible. But, here, you should ensure your chosen wall area offers better airflow and follows your regional building codes.
How do I know what size venting pipe I need for my range hood?
In most cases, you can know the venting pipe size of the range hood by reading the user manual. As manufacturers provide all the necessary information about the hood in the manual.
Are there any safety precautions I should take while working on the roof?
Absolutely. Every time you should prioritize safety while working on the roof. As a little bit of ignorance may be a lifelong suffering.
Can I install the range hood and venting system, or do I need assistance?
Yes, you can install the range hood and venting system yourself. But, it’s only possible if you are comfortable handling DIY projects, using DIY electric tools and roof work.
On the other hand, if you aren’t comfortable with any of these. Most of the experts suggest you seek help from professional assistance for safe and secure installation.
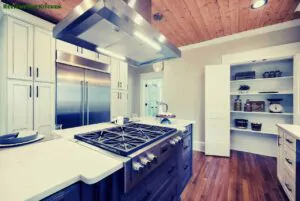
Final Verdict
Installing the range hood vent pipe through the roof will help you unleash its power.
You have read the above step-by-step guide and can perform the task. Your kitchen awaits to welcome you to a clean, comfortable, and enjoyable cooking zone.
So, that’s it for today. Share your DIY experience in handling the project. I’d love to hear from you.
Happy venting!