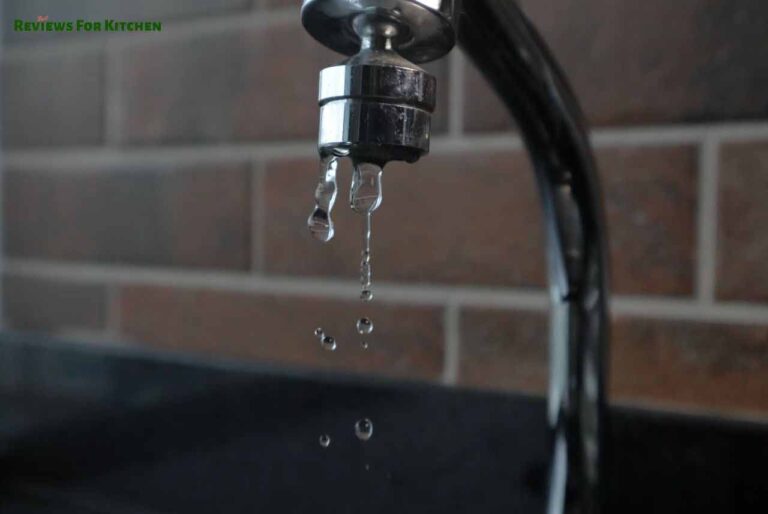

Everyone wants to decorate their kitchen with the most modern and quality tools. In the case of kitchen faucet, we see a lot of changes in the recent few years. So, no one loves the old designed faucet anymore. So, are you thinking of replacing (How to replace a Kitchen Faucet) it?
But replacing a faucet means costing money for new faucet and the service. Happy to know that only after buying a new faucet you can replace it by yourself. But, how to replace a kitchen faucet?
I am here to help you with the ultimate guide. Don’t worry about the ingredients. I am pretty sure all the tools it requires are available in your toolbox. There are mainly 2 methods and 9 main processes. Today, I will discuss them step by step. So, read out the instructions and ready to replace it like an expert.
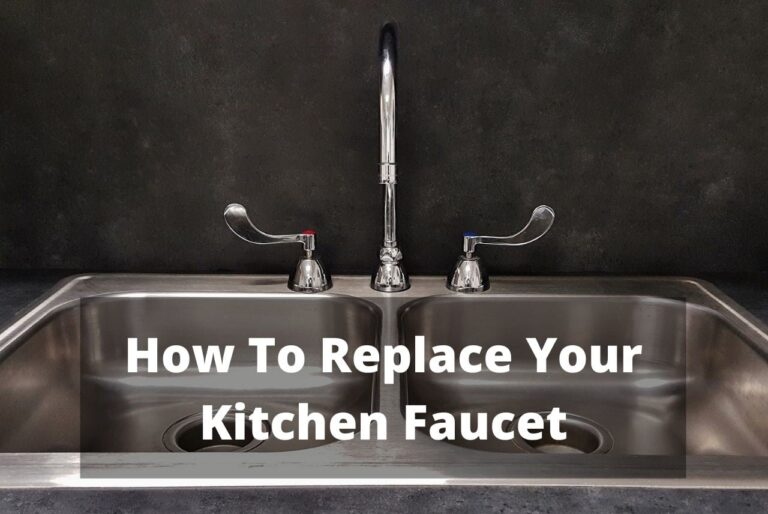
How to Replace a Kitchen Faucet?
According to our research we found few common mistakes that we have done when replacing the kitchen faucet. So, we find the solution with two simple method
Method 1: Pre-replacing Method
Step 1: Choose the right faucet
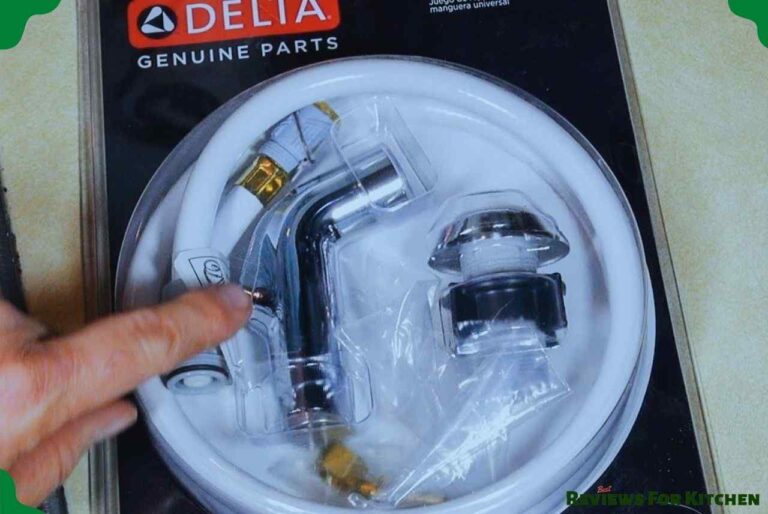
The first thing is you need to know what is the best kitchen faucet. You can go to the market or order online for a new faucet. I never recommend using an old faucet. If you go to the market then capture a picture of the sink. Show it to the shopkeeper and they will understand which one is perfect for your sink.
Today, I am using Delta Kitchen Faucet. It is one of the best kitchen faucets. It also supports most of the sinks.
Step 2: Take your Protection
Get a pair of gloves and a mask. Wear the gloves and mask before you start working. The area under the sink is generally dirty and grimy. Again, while working the dirt can enter the lungs through your nose.
So, it is necessary to take protection before starting.
Step 3: Clear everything under the cabinet
If you don’t get enough room to work you won’t be able to work properly. So, clear everything from the cabinet under the sink.
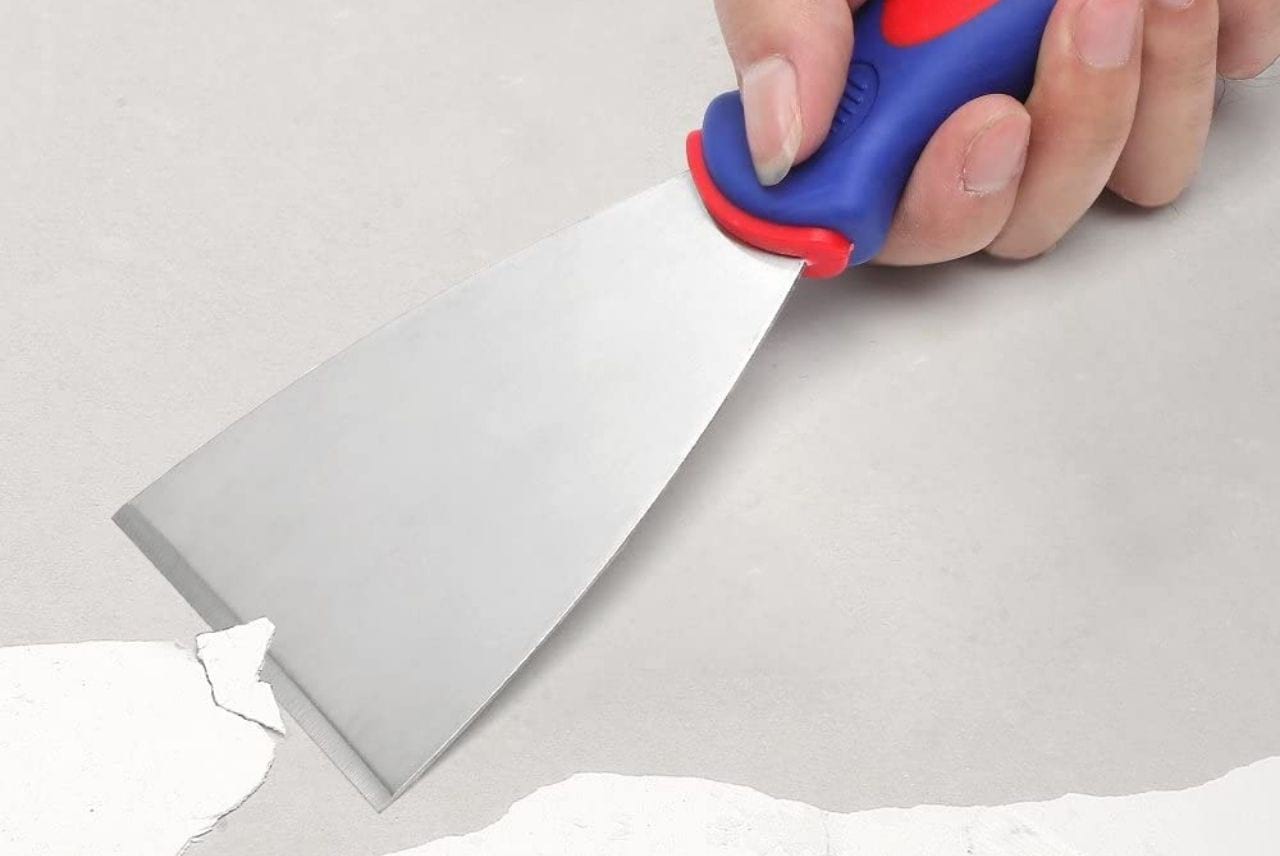
Step 4: Gather necessary tools


Step 5: Read the instructions
Read the steps I will discuss now. It will work as your own assistant.
Method 2: Main Procedure
Step 1: Turn off Both the Hot and Cold Supply Valves
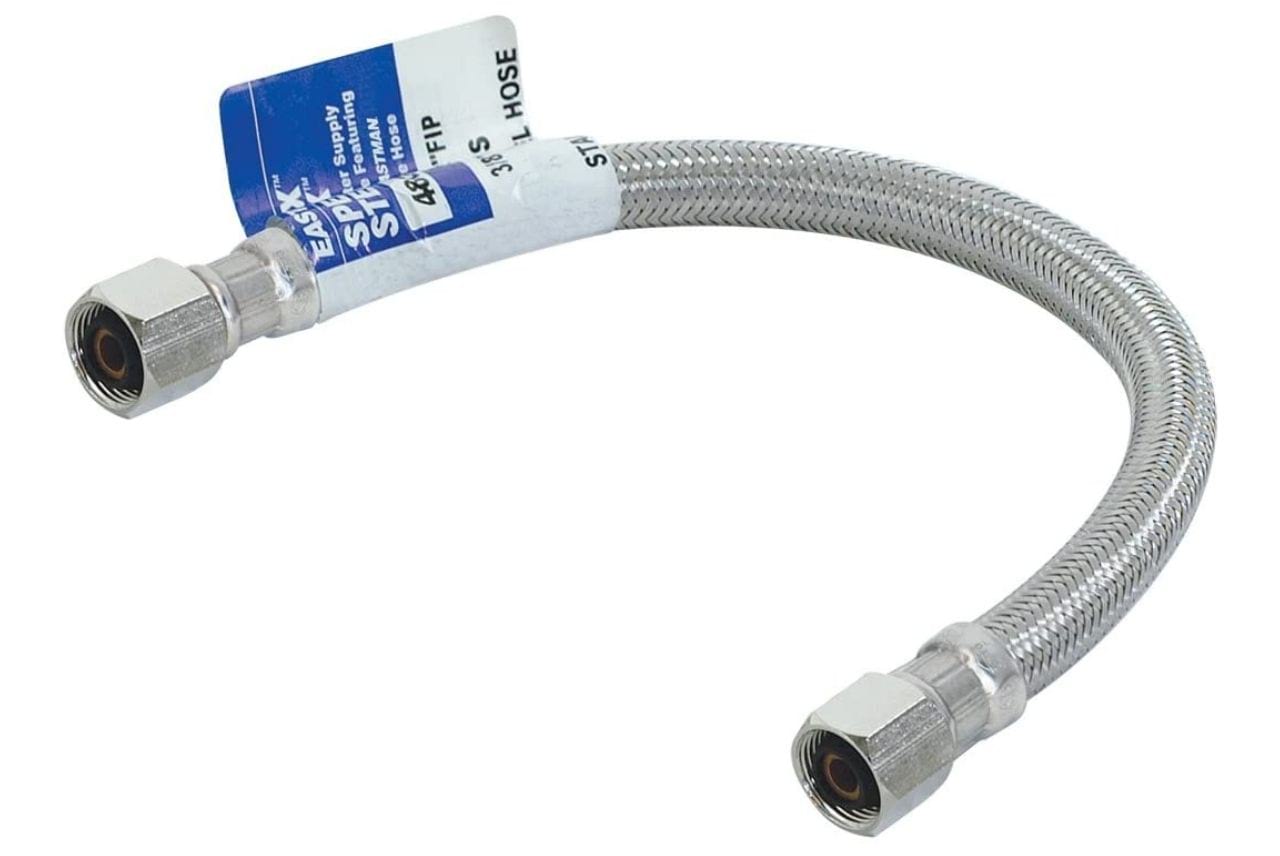
At first, tighten the supply valves. Turn them clockwise and make sure there is no water flow. If the water flow continues, then you have to contact a c.
If there is no water flow then you can disconnect the supply line.
Step 2: Light up the Place
The place underneath the sink remains dark all day. For working smoothly, you need to light up the area. You can use a camping lantern to light up the place.
Step 3: Remove the Old Faucet
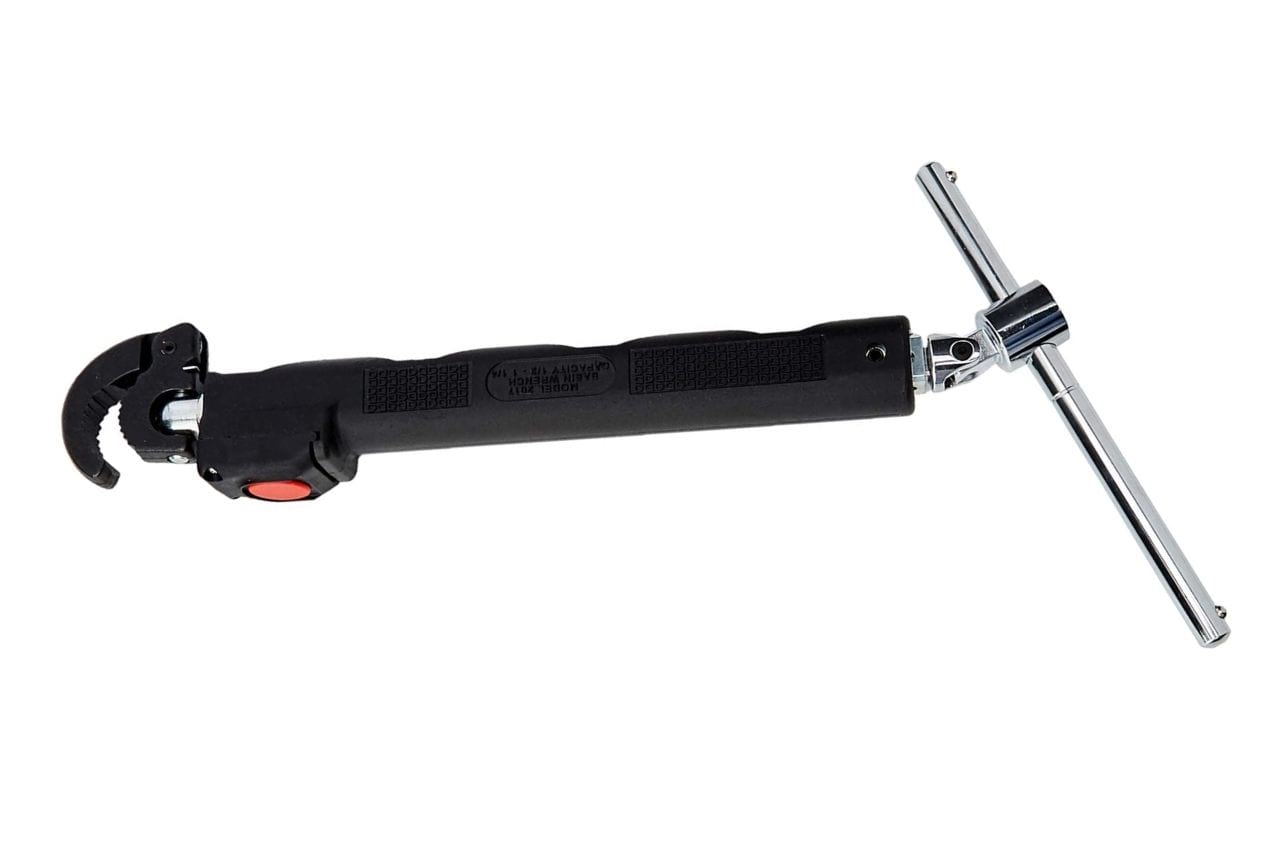
Check out the nuts type. If they are plastic then it is better to unscrew them using your fingers. If it is tight enough then use a basin wrench to unscrew them. Make sure that the retaining bracket remains secured.
Step 4: Cleaning
If the old faucet is been there for 2-3 years then it must be a dirty area. So take a rag and clean the area.
Try to clean all the dirt and make it look like a new one.
Step 5: Installing a New Faucet
Now take the new faucet and install it according to the Instruction. You may get an Instruction paper you can follow that.
Place the faucet and supply line properly and take a basin wrench to tighten the nuts. Don’t tighten too much, it may cause damage to the washers.
Step 6: Install the Weight (Only for pull-down and pull-out faucets)
In the case of pull-down and pull-out faucets, you have to install the weight according to the direction. Misplacing the weight can impair the functions of the faucet type. You can check out the instruction paper for the exact direction to place the weight.
Place the weight on the sprayer hose that generally locates underneath the sink. Most of the manufacturers mark the area with a different color. If your faucet is like that then it will be easier to locate.
Step 7: Clean the Lines and Hose
As you are working with a dirty hand, the hose and line will be dirty enough. Besides, if there is extreme dirt it can block the water flow. Just take a rub and wipe down the places. Try to bring a new look.
Step 8: Flush the Faucet
It’s important to flush the fixture as it contains dangerous particles. They generally contain sediments and other harmful particles from the manufacturer. So flush the faucet for at least a minute and let all the particles fo away.
Step 9: Check for the Leakages
We are at the very last stage of your task. Now check out if there is any leakage or not.
At first, go under the sink and inspection the hose and supply line. If there is any moisture then there is a chance of leakage.
You can use a white paper napkin and run it over the pipe. If there are any leakages you will see water on the paper napkin. Fix the leak if there is any.
If there is nothing then successfully you have replaced the kitchen faucet.
Final words
People also search for
- Ultimate Kitchen Faucets Buying Guide | Complete Buying Guide
- How to Replace Delta Kitchen Faucet Sprayer Hose? – Real Solution!
- How to Remove Slotted Cleanout Plug: Tools and Techniques
- How To Remove A Stuck Faucet Stem?
- How To Connect Two Faucet Supply Lines Together? – Plumbing Solution
- How to Remove Aerator from Moen Kitchen Faucet? Unearth the Best Tricks!